
Tutorial: The Weltless Pocket

My favorite detail about the Cabin shift pattern, hands down, is the pocket.
I love a dress with pockets (who doesn't?) and while working on this pattern I wanted to develop something that was unique and detailed but manageable for the everyday sewist. I have always liked the look of welt pockets, but find them a bit labor intensive and hard to get looking right unless you've made quite a few.
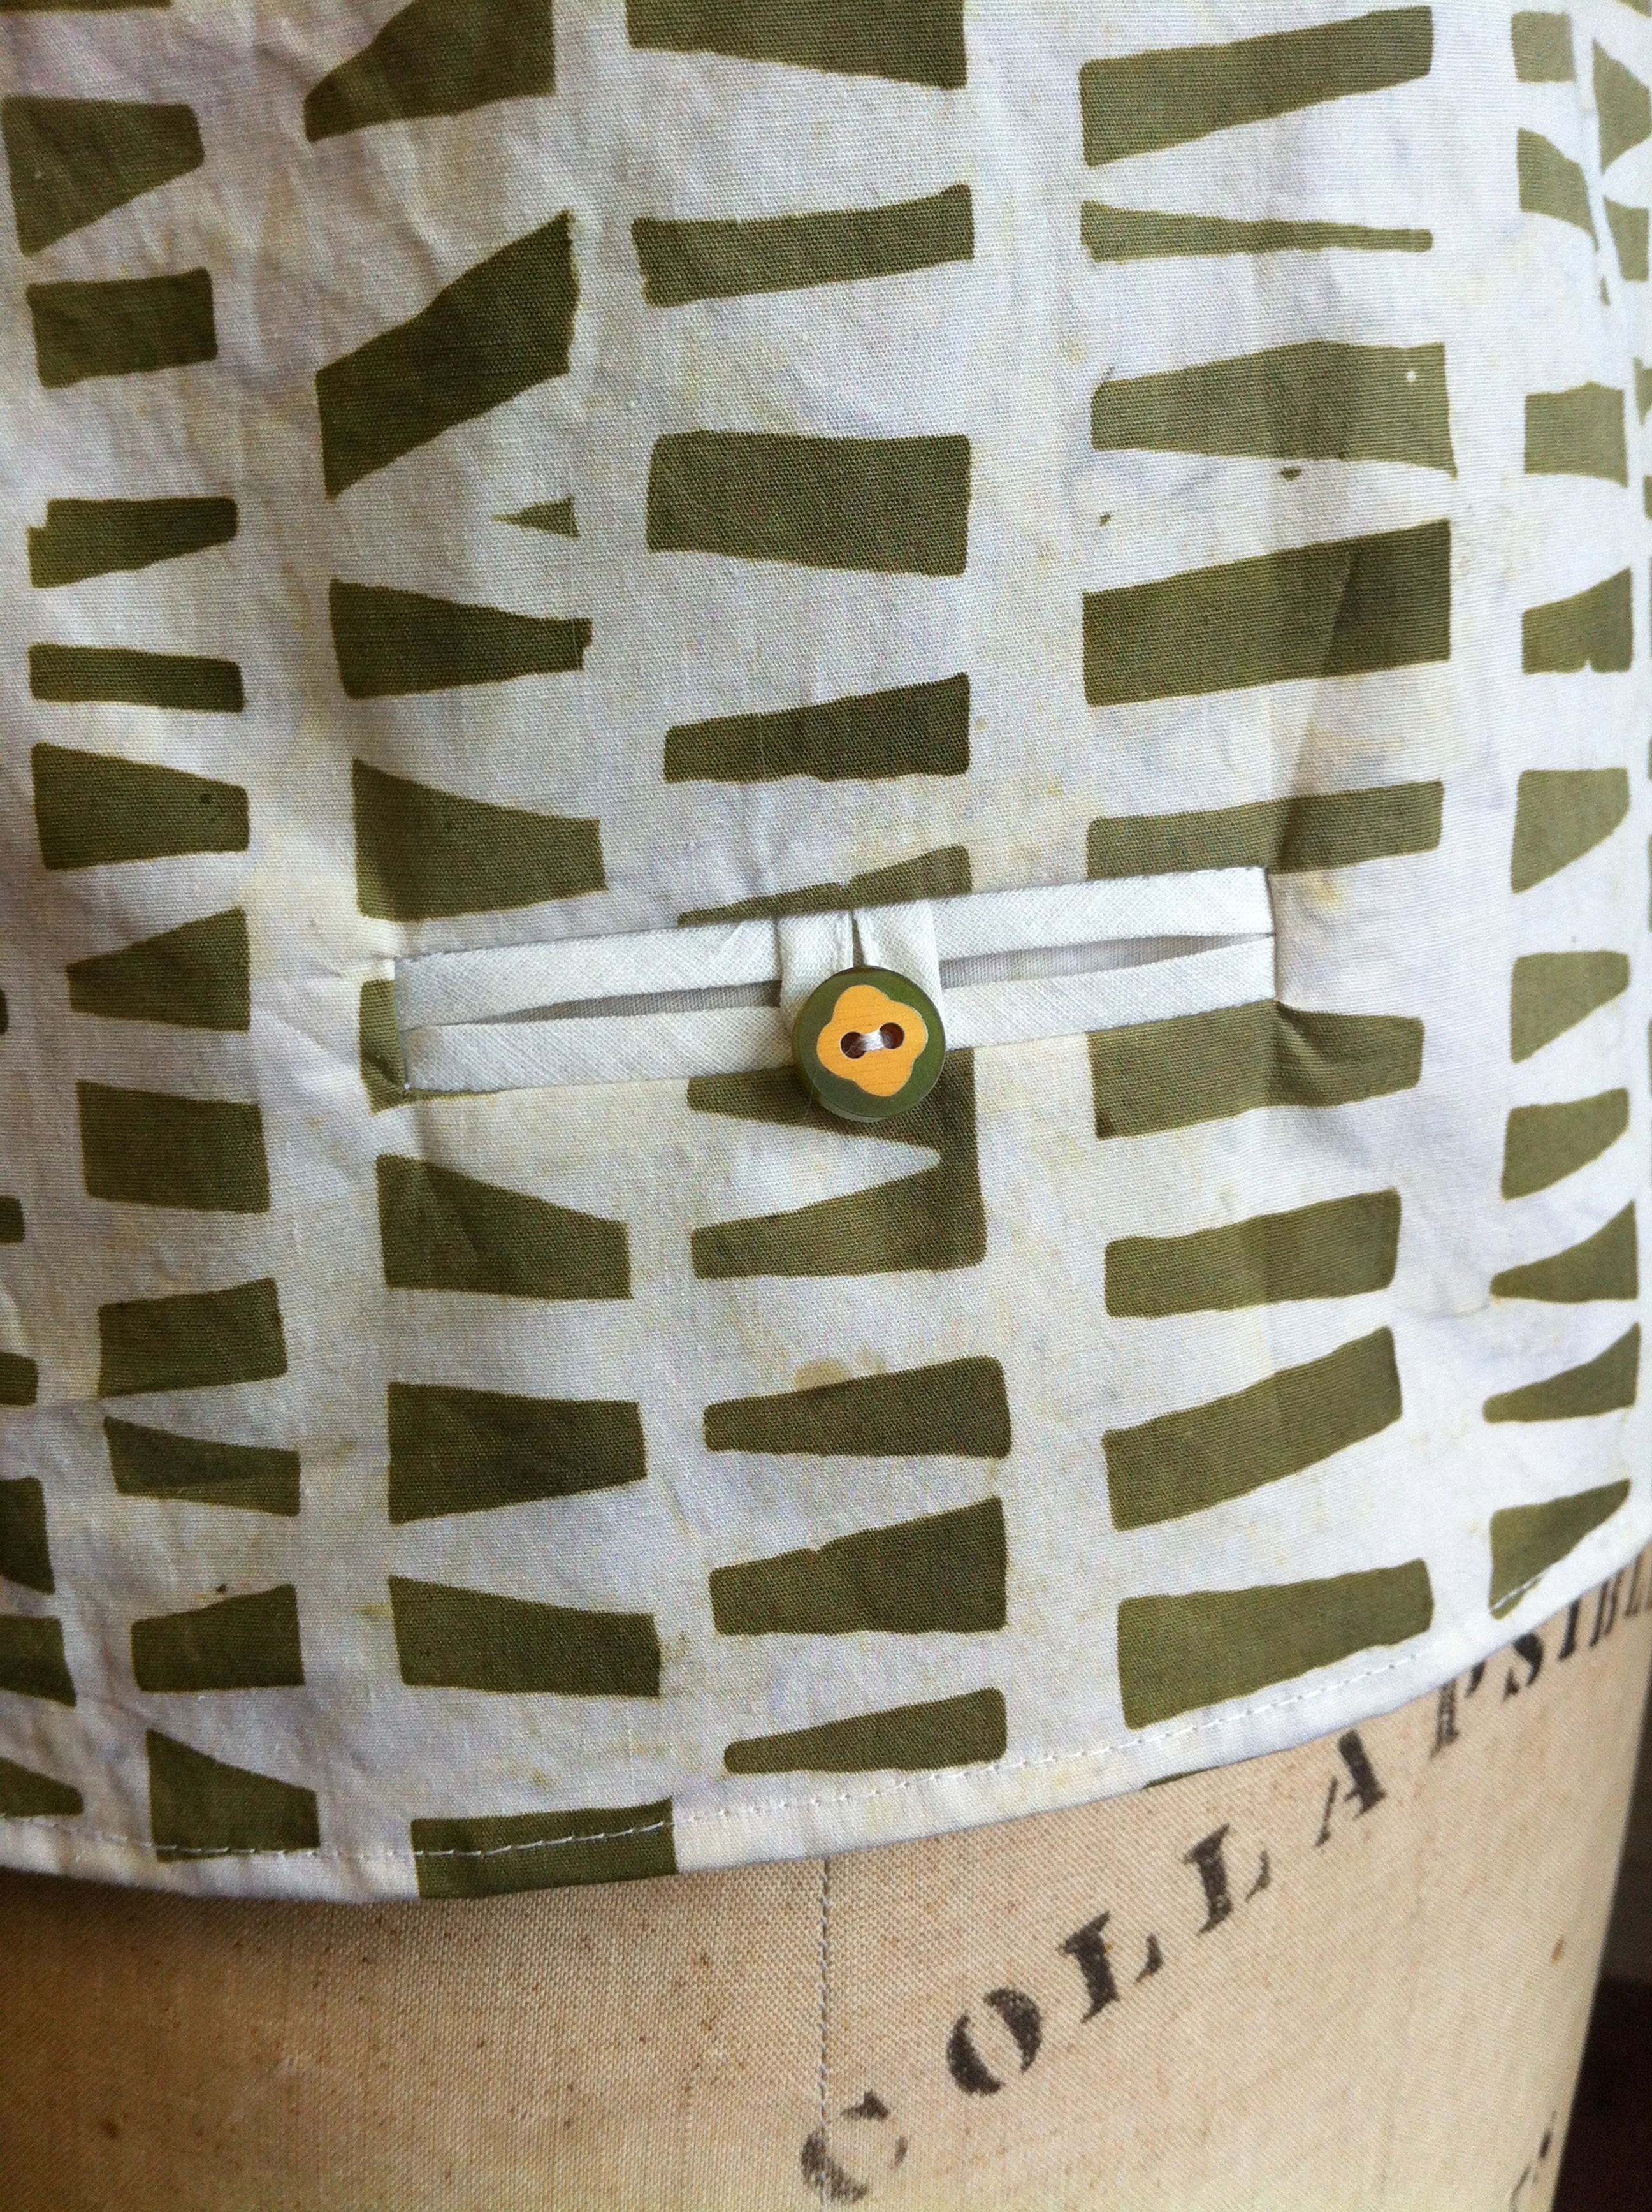
Welt pockets can be single or double. The pocket on the left, part of a blouse I made a few summers ago, is a double welt pocket with a button tab.
The 'welt' is a separate piece of fabric, elaborately sewn into a window in your main fabric, secured, and with a pocket back sewn on. There's a lot of turning and pressing and measuring and precision.
You often find welt pockets as the breast pocket on a suit, or the back pocket on a pair of dress pants. They often have a flap incorporated that can be folded out or tucked in.
They're quite handsome. You may have made a welt before without knowing it. A bound buttonhole is basically a tiny double welt pocket without the pocket.
So this inspired me to make what I call a "weltless" pocket. It looks a bit like a welt pocket but includes only one pattern piece. The 'welt' is actually just the pocket facing visible through the pocket window (this is the little rectangle on your pattern piece.)
Though this pocket is much easier than a single welt pocket and will likely prove a bigger success for new sewists, some steps can be tricky. I've put together a photo tutorial to supplement the written instructions. My students in the most recent Cabin workshop requested it and I happened to have taken somepictures during sample sewing. The pictures aren't the best which is perhaps exacerbated by how crinkly the linen I used for the sample was! But they're clear enough, so here it goes:
1. To start, copy your pocket markings from your pattern onto the right side of the front of your shift.
2. Fuse or baste a piece of interfacing (there is a template in the pattern for the size) directly behind each drawn pocket opening on your shift front.
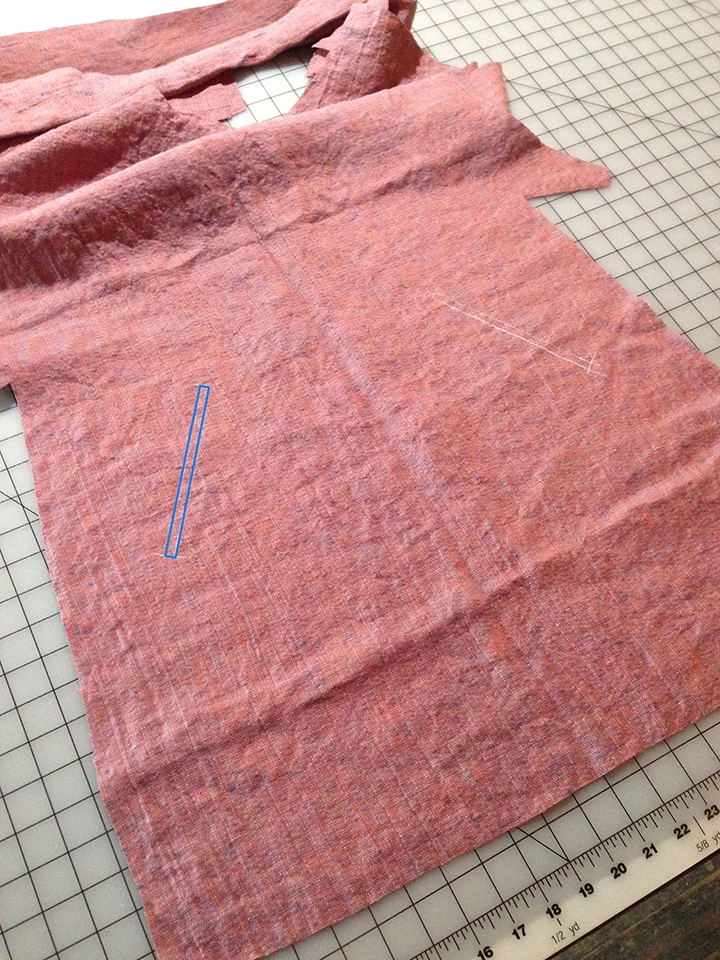
3. With the right sides facing down, line up the same rectangular marking on your pocket pieces with the one on the dress and pin in place. Note: The rectangle mark on each piece should be to one side of the pocket piece fold from when it was cut. Both rectangles should be on the side of the fold closest to the center of the dress.

4. Sew around the rectangle. Use a regular length stitch on the longer edges, then switch to a short (#1 or 20 sts per inch) stitch length to sew the corners. We'll have to clip very close to the corners and this helps keep them strong. It also makes it easier to stop exactly on the corner to pivot. Don't forget to make sure the needle is in the fabric when you lift the foot and turn!

5. Once you've sewn around your rectangle, cut through both layers in the center of your stitching. Snip into the corners as pictured below. Get as close as you can, leaving a tiny bit of space between the cut and the stitching, about 1mm.
6.Pull your pocket piece through the opening and around to the back, laying it out flat against the dress fabric. This will create a rectangular window. Press this window, making sure the seam where the fabrics are sewn together is pushed all the way out and that as little of the pocket fabric shows as possible.

7. With the pocket fabric still out of the way, sew around the short sides and the bottom side of the opening, but NOT the top. The bottom side is the edge of the rectangle closest to the dress hem.

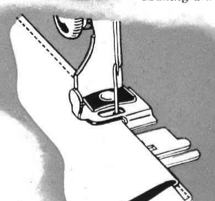
Some tips for edge stitching: To get nice even edge stitching, enlist the help of a special foot. You can use a foot just for edgestitching, which features a sort of guide bar. You'll position this guide against the edge of your fabric to keep it an even distance away while stitching.
If you have an older machine, that 'mystery foot' you've pondered over might be made for edge stitching! Simple guide the fabric into the slot that positions it the right distance from the needle and stitch away.
You can also use a zipper foot (the kind with a long toe rather than the ones used for invisible zippers) as this will allow you to see the edge of the opening more easily.

Edge stitch foot

Vintage edge stitch foot

Zipper foot
8. Pull the pocket piece back out to the right side of the dress. Match up the notches and sew around the pocket at a 1/4" seam allowance.

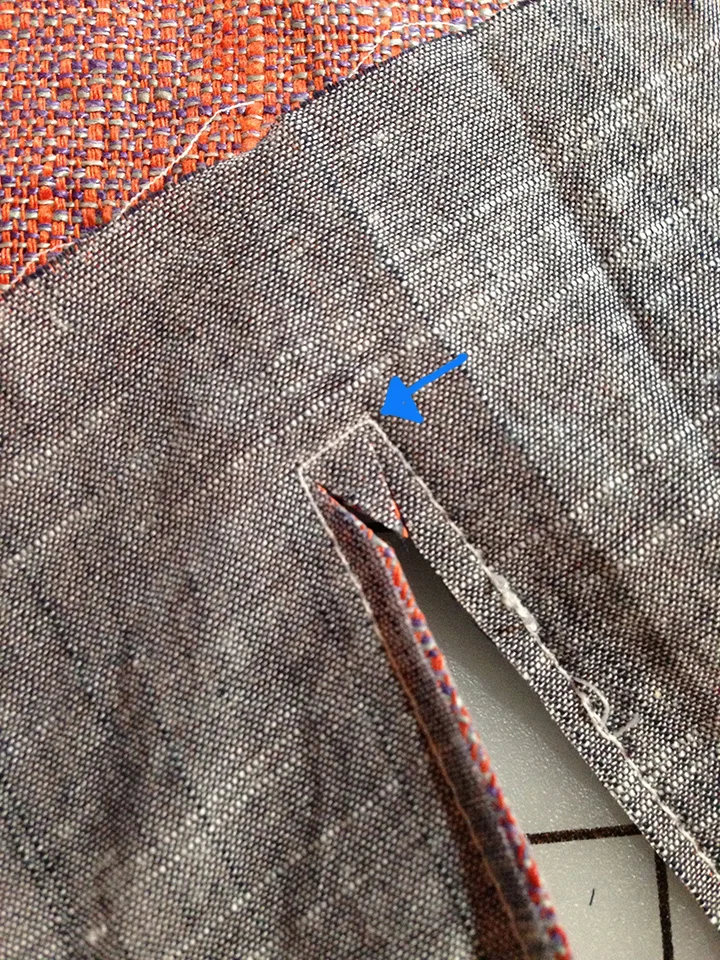
9. At the end of the pocket back seam that is closest to the bottom, you'll see it ends in an angle. Sew along this by pivoting at the corner (like you did for the pocket opening) as pictured below.

10. Once you've sewn around your pocket, trim the edge to 1/8" and turn it back inside the dress. Poke out the corners of the pocket bag and roll the seam allowance between your fingers to push out any folds.


11. Sew around the pocket once more at a 1/4" seam allowance. It should look like the picture below.

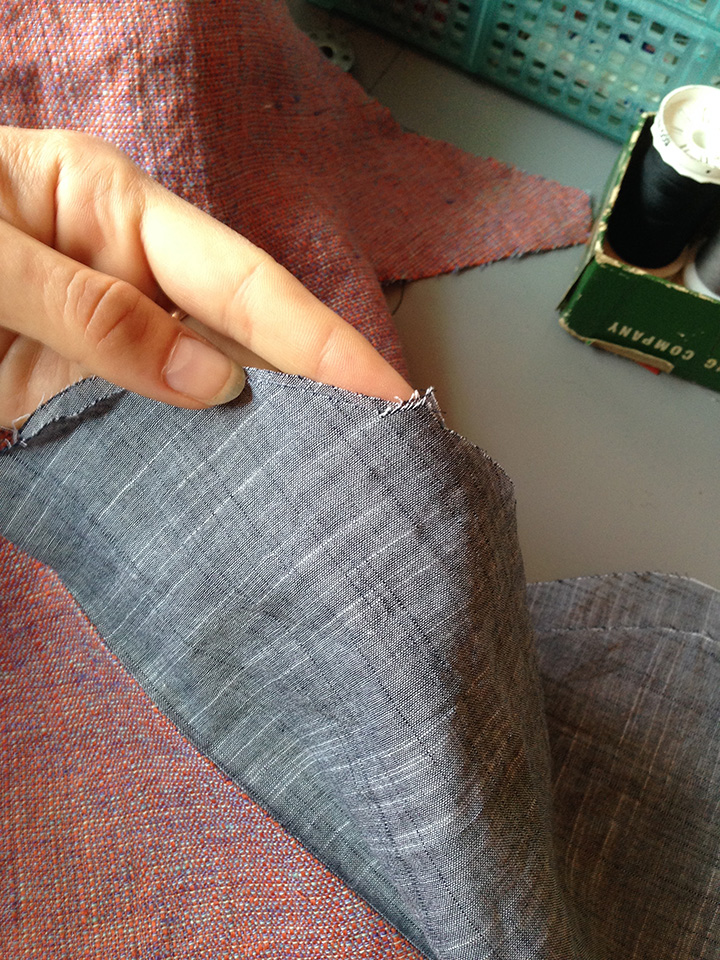
12. The pocket piece is designed to have a small fold along the edge opposite the pocket bag (above, in hand). On the right side, sew along the top (unsewn) edge of the pocket opening. You will catch the fold above in the stitching, which will keep the pocket window looking tidy.


Your finished pocket should look like this. Not too hard, right? If you're feeling unsure, grab some scrap fabric and try making the pocket before you cut into your dress front.
Good luck and if you have any questions, feel free to leave a comment!