
Saltbox Renovation: Using knits

Hey guys, today is the last day of the amazing, fantastic Sewing Indie Month August pattern bundle sale! It's your last chance to get all these amazing patterns at a crazy discount and help out the International Folk Art Alliance at the same time!

- the NEW Saltbox Top by Blueprints for Sewing
- the NEW Sorrel Dress & Top by Seamster Sewing Patterns
- Sugar Plum Dress by Lolita Patterns
- Sutton Blouse by True Bias
- Ultimate Trousers by Sew Over It
- Bonnell Dress by Dixie DIY
- Cookie Blouson by Waffle Patterns
- Cressida Skirt by Jennifer Lauren Vintage Patterns
- Melissa Dress, Blouse & Skirt by Muse Patterns
- Mississippi Ave Dress & Top by Sew House Seven
Today's your last chance to pick up this bundle. To celebrate, I thought I'd share some tips and ideas for making a Saltbox using knits! (Hot on the heels of Mari's awesome rayon knit version)
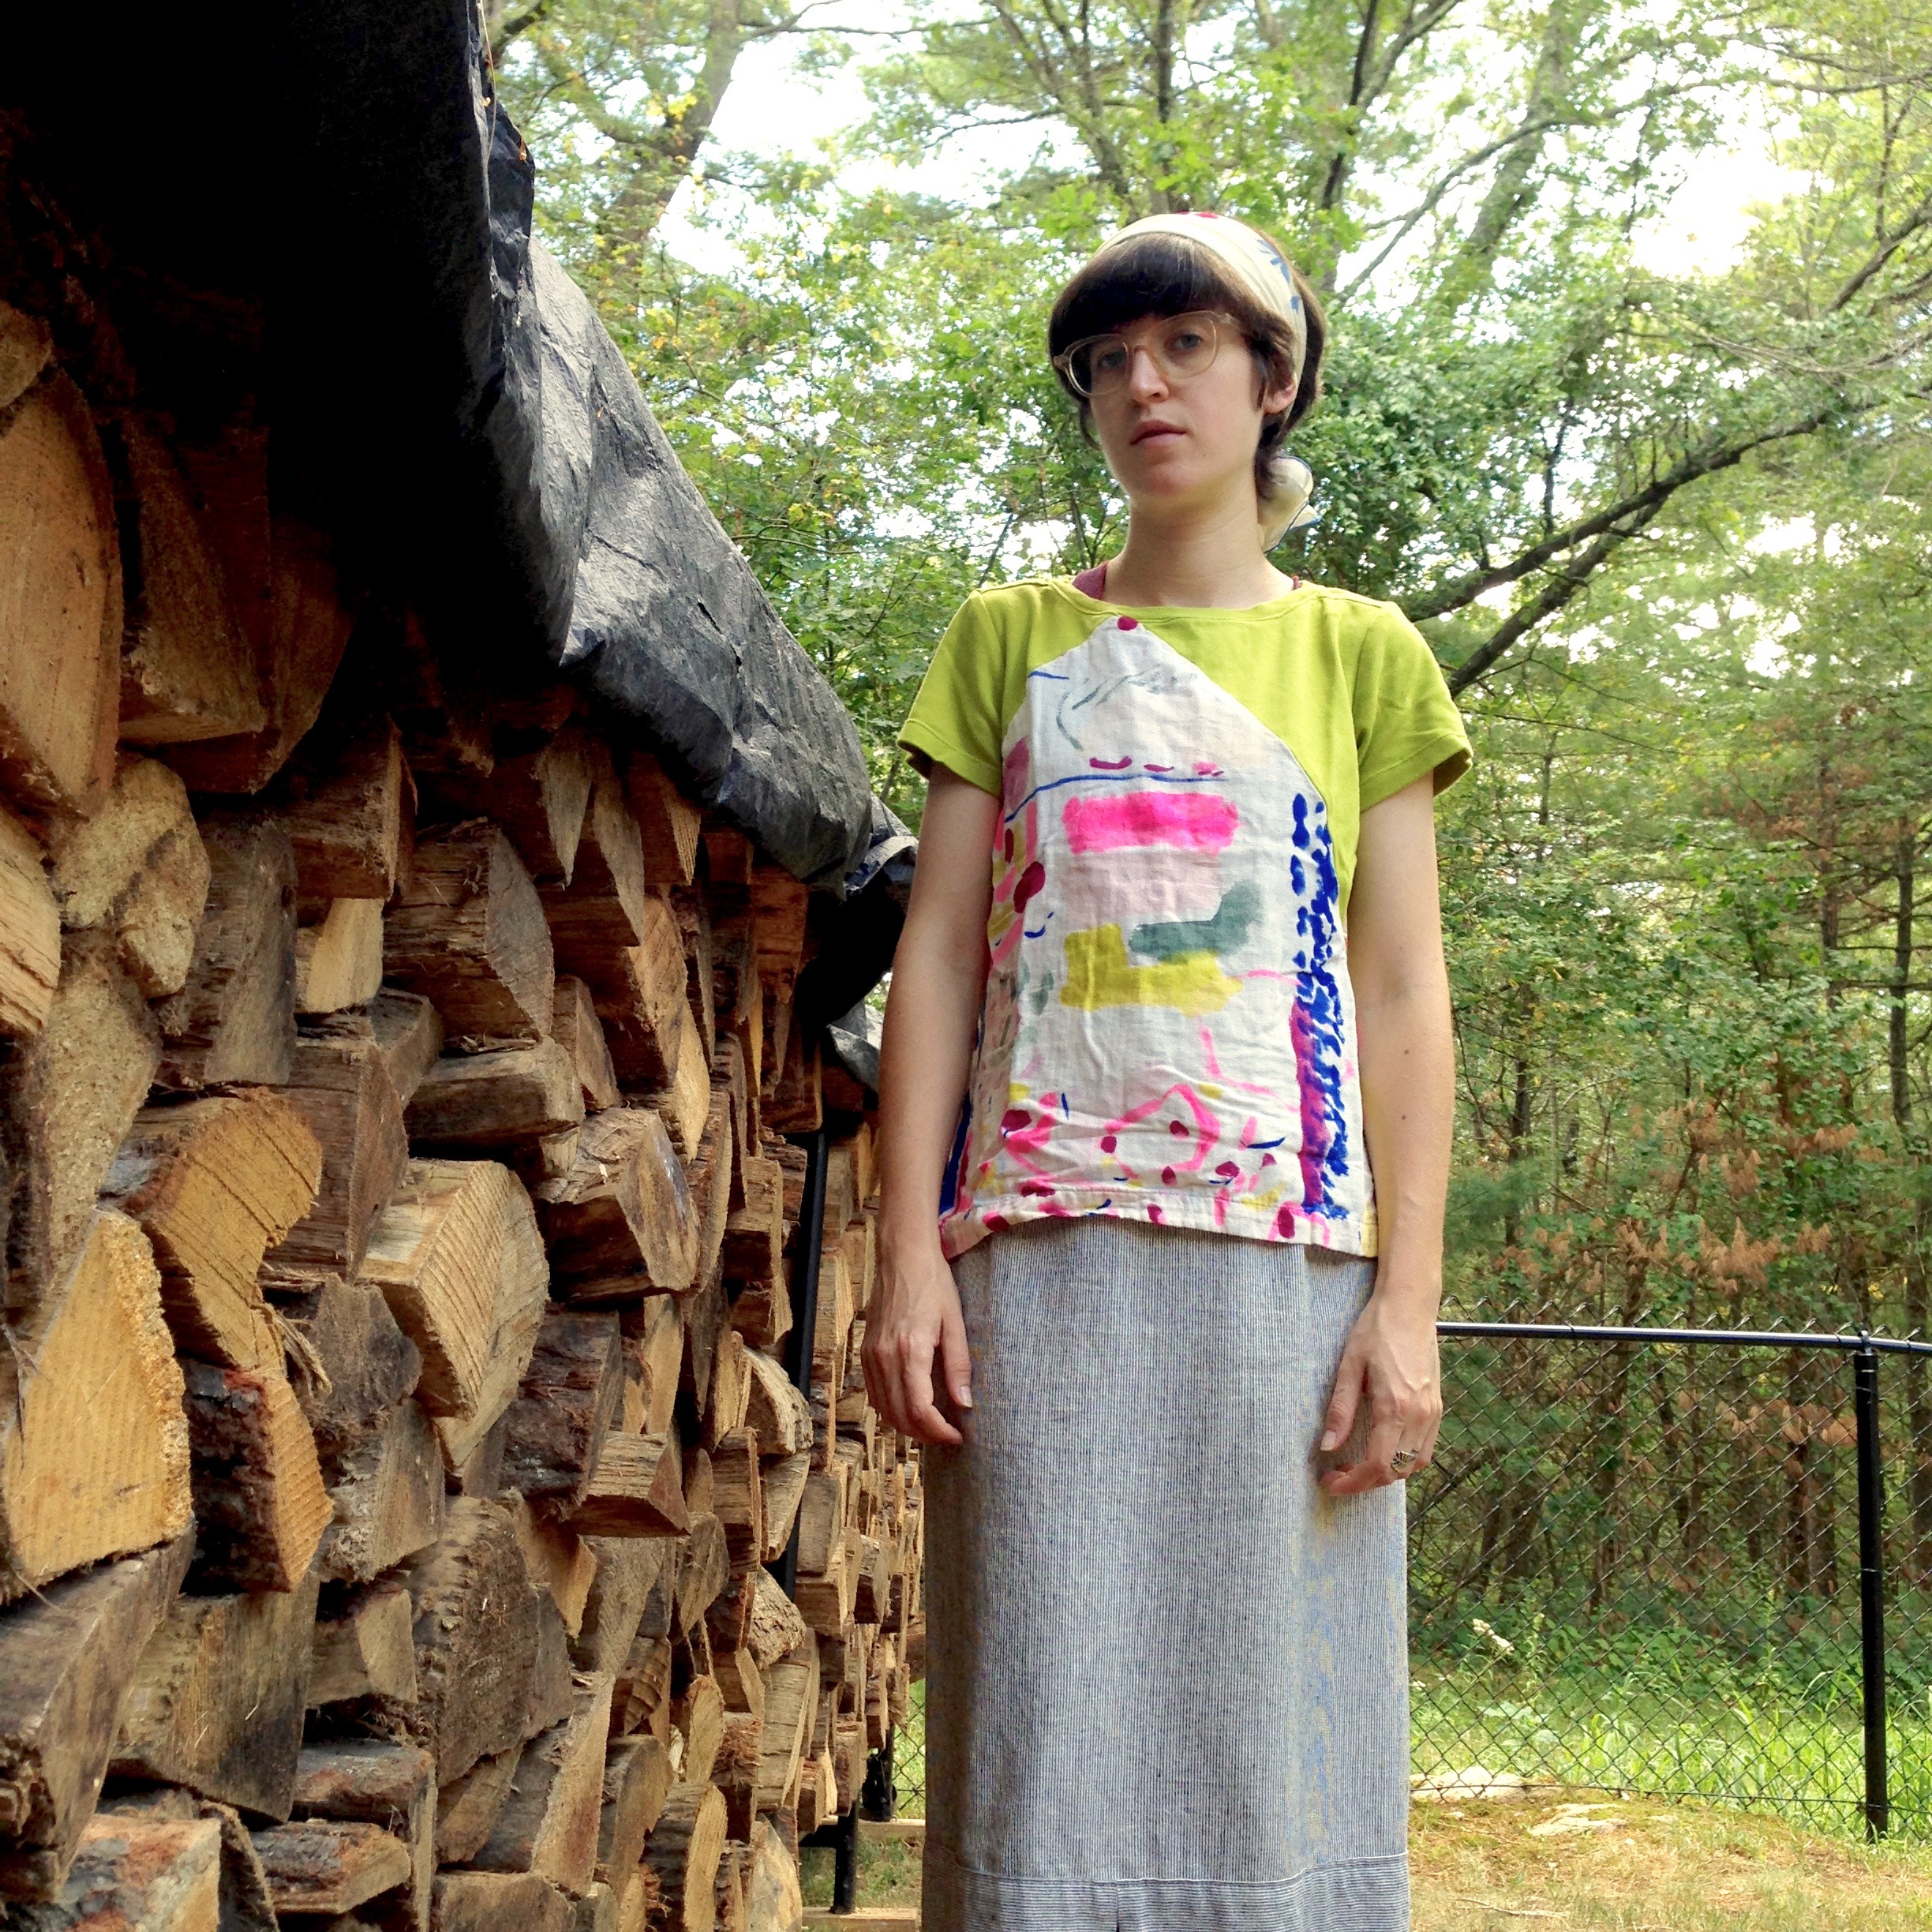
When creating the test samples for Saltbox, I thought it could work well with knits or a combination of knits and wovens. I wanted to test the latter, using a Nani Iro double gauze as the main fabric & a nicely coordinating organic cotton interlock by Birch Fabrics (available from Sew Biased Fabrics & Fiddlehead Artisan Supply, to name a few.) The Birch knit is a very stable but stretchy interlock which worked quite well, though I'm keen to experiment with more sheer/lightweight knits.
I've made up some extra pattern pieces, a knit neckband and armbands (for Version 2) to help you make your knit Saltbox a reality.
Download the extra pieces here!
Quick tips for sewing knits on a regular machine
You can use knits for your saltbox without the use of a serger! Here's some tips on finding the best stitch for the job and sewing your hems.
Use a zigzag stitch! Test on a scrap to find the best setting for your fabric!
A zigzag stitch is the easiest way to sew knits on a regular machine - no serger necessary. The zigzags allow the seam to stretch with the fabric, while regular straight stitches do not stretch.
Set your machine to a zigzag stitch, set at the middle setting for both stitch length and zigzag length. Fold a small scrap in half. Sew along the stretchy direction of a scrap of your knit fabric near the fold.
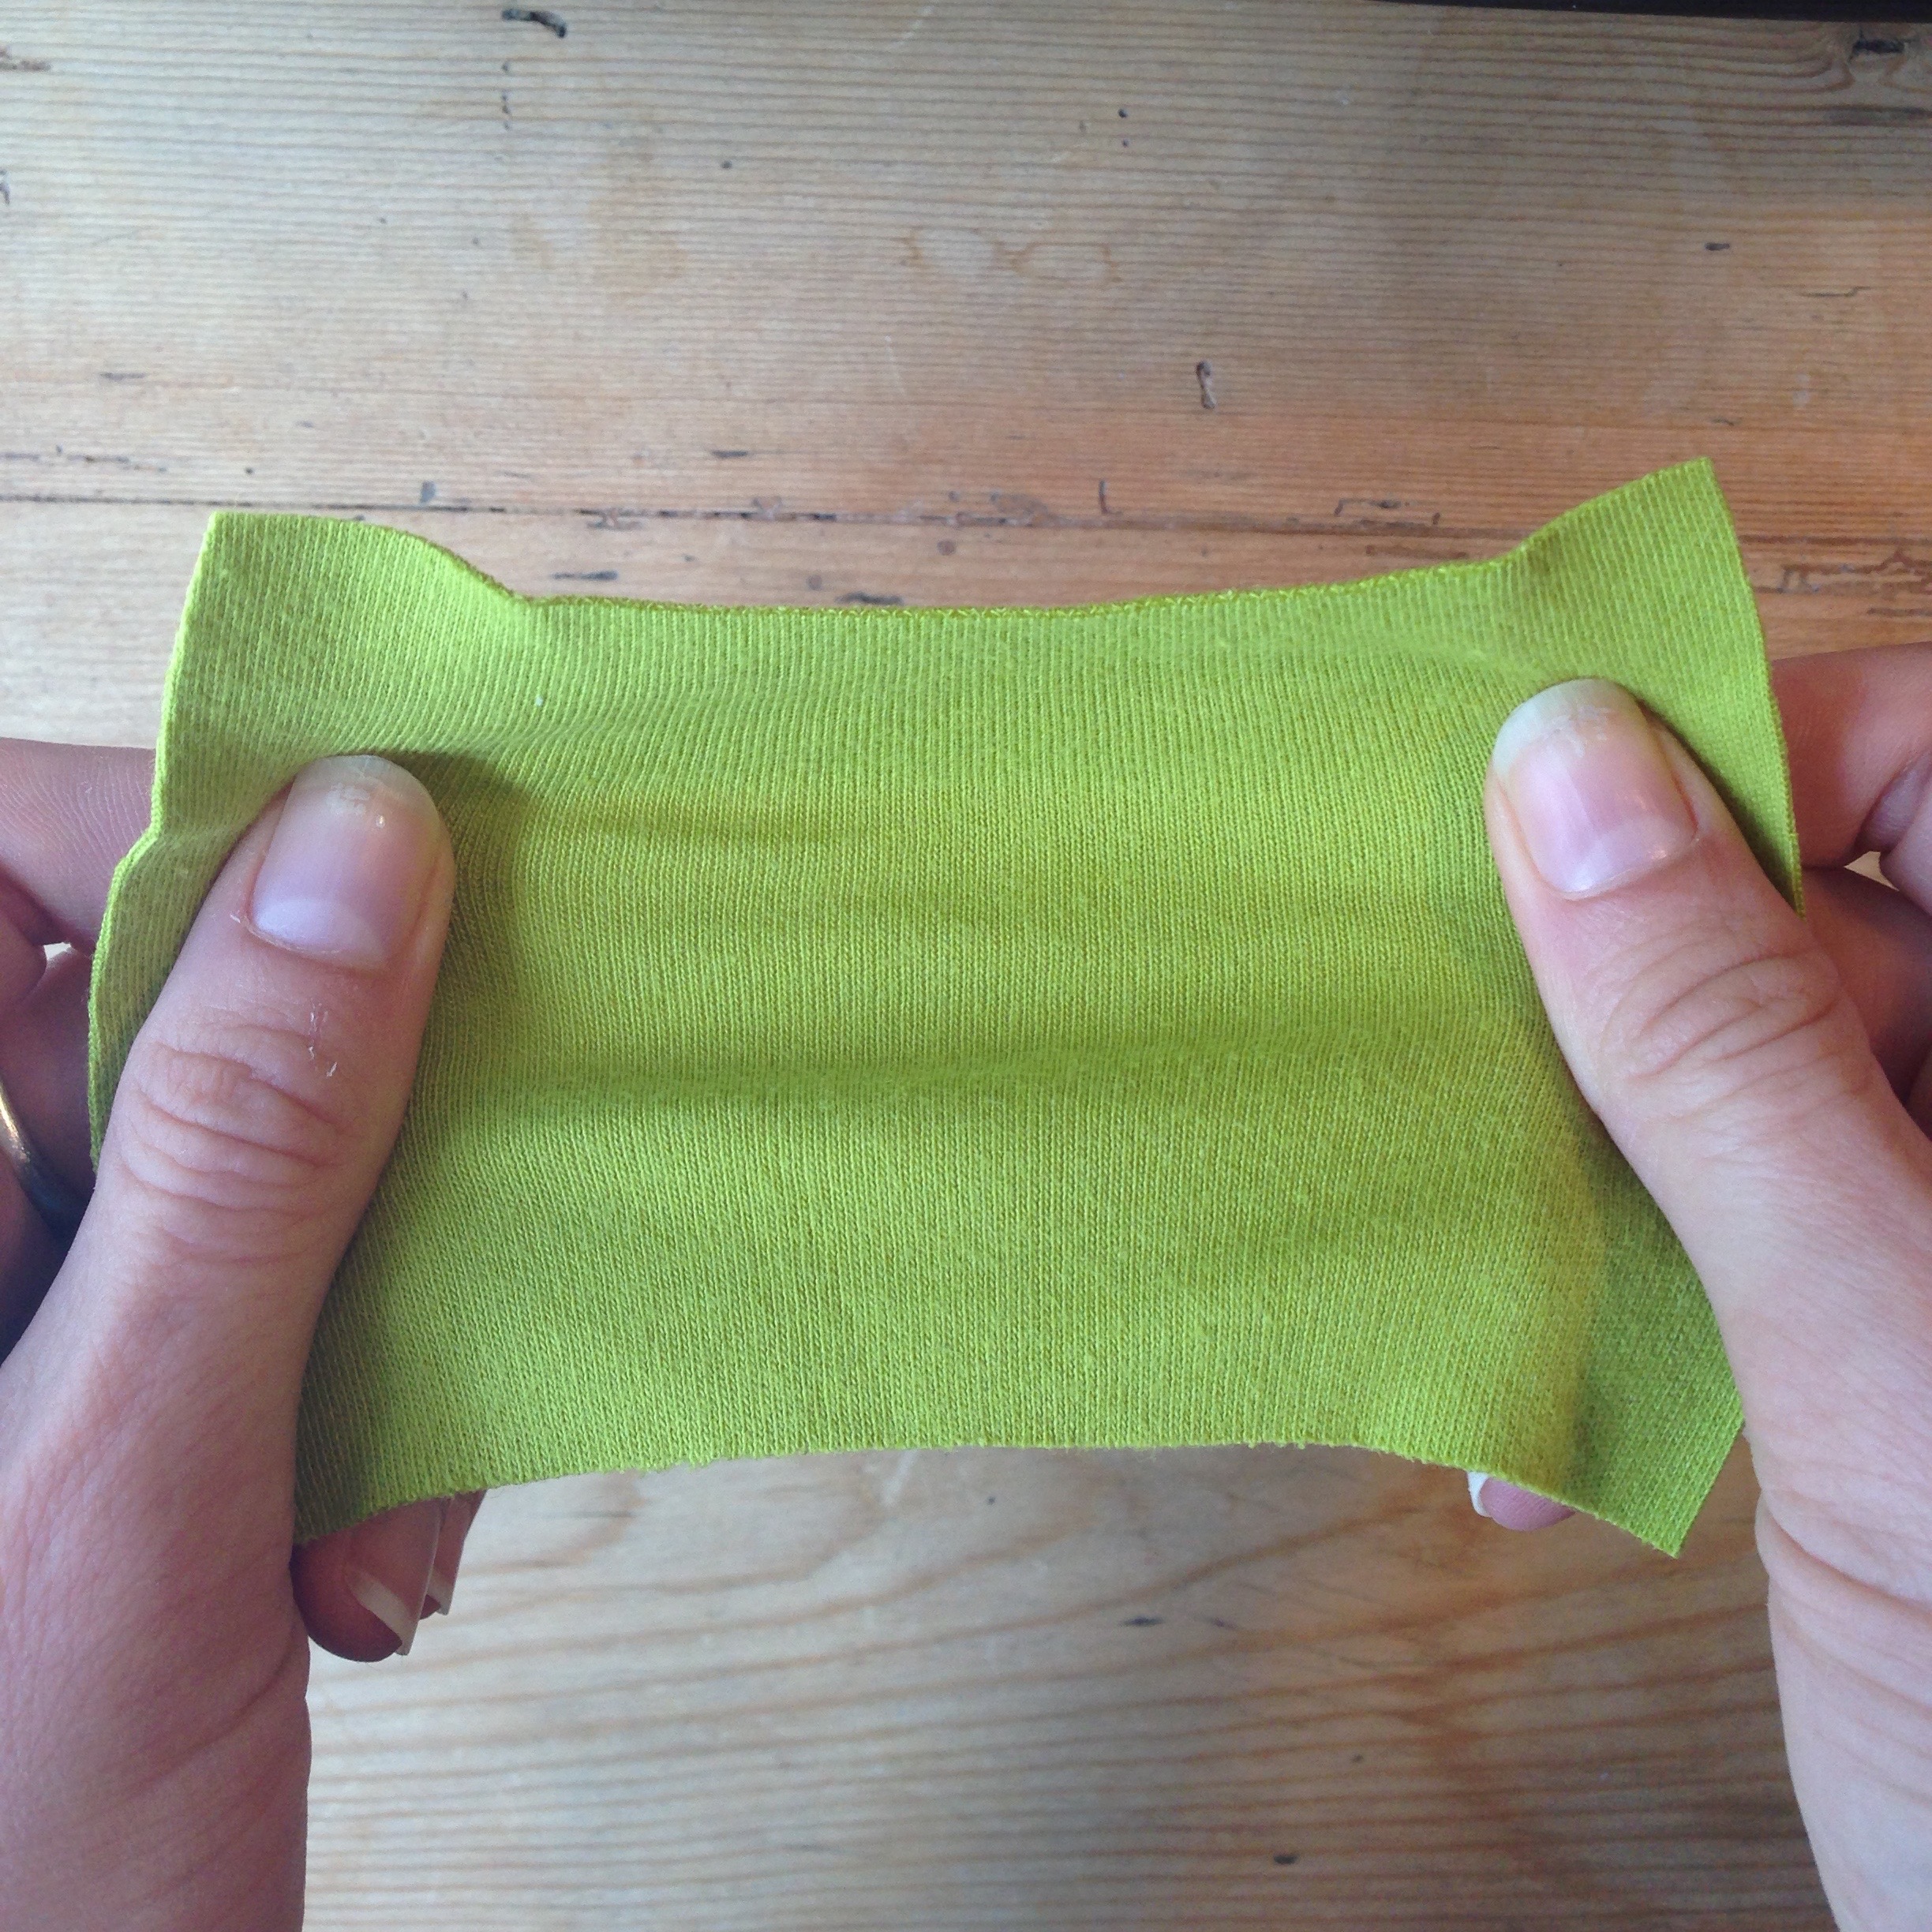

Test the stitches by stretching the fabric along the sewn line. If it stretches about as much as the un-stitched portion of the fabric, you're in good shape. If not, increase your stitch width and try again. This will provide more thread in your seam, allowing greater stretch.


Open up your fabric scraps and look at your seam. If you have big gaps and don't like the look of the seam, reduce your stitch length slightly and try again. This will bring your zigzags closer together, so there is less of a gap between them.

On my 2nd attempt, I used both a slightly wider zig zag (more stretch) and a shorter stitch length (stitches closer together & better looking)


If you don't like the look of a zigzag and you have a Stretch Stitch setting on your machine, give that a try. Check for stretch and appearance. On some knits, the stretch stitch does just the trick. On others, it chews up the fabric and doesn't provide enough stretch. Keep in mind that a stretch stitch uses more thread than a straight or zigzag stitch.
Sewing knit hems on a regular sewing machine
Pick up a twin needle designed for stretch fabrics. This needle creates parallel lines of topstitching that are connected on the bottom with a zigzag. The zigzag allows these stitches to stretch, but has a clean appearance on the outside, similar to the cover stitch you find on RTW t shirts. (Not sure what a cover stitch is? Here's some great information from Seamwork Magazine)

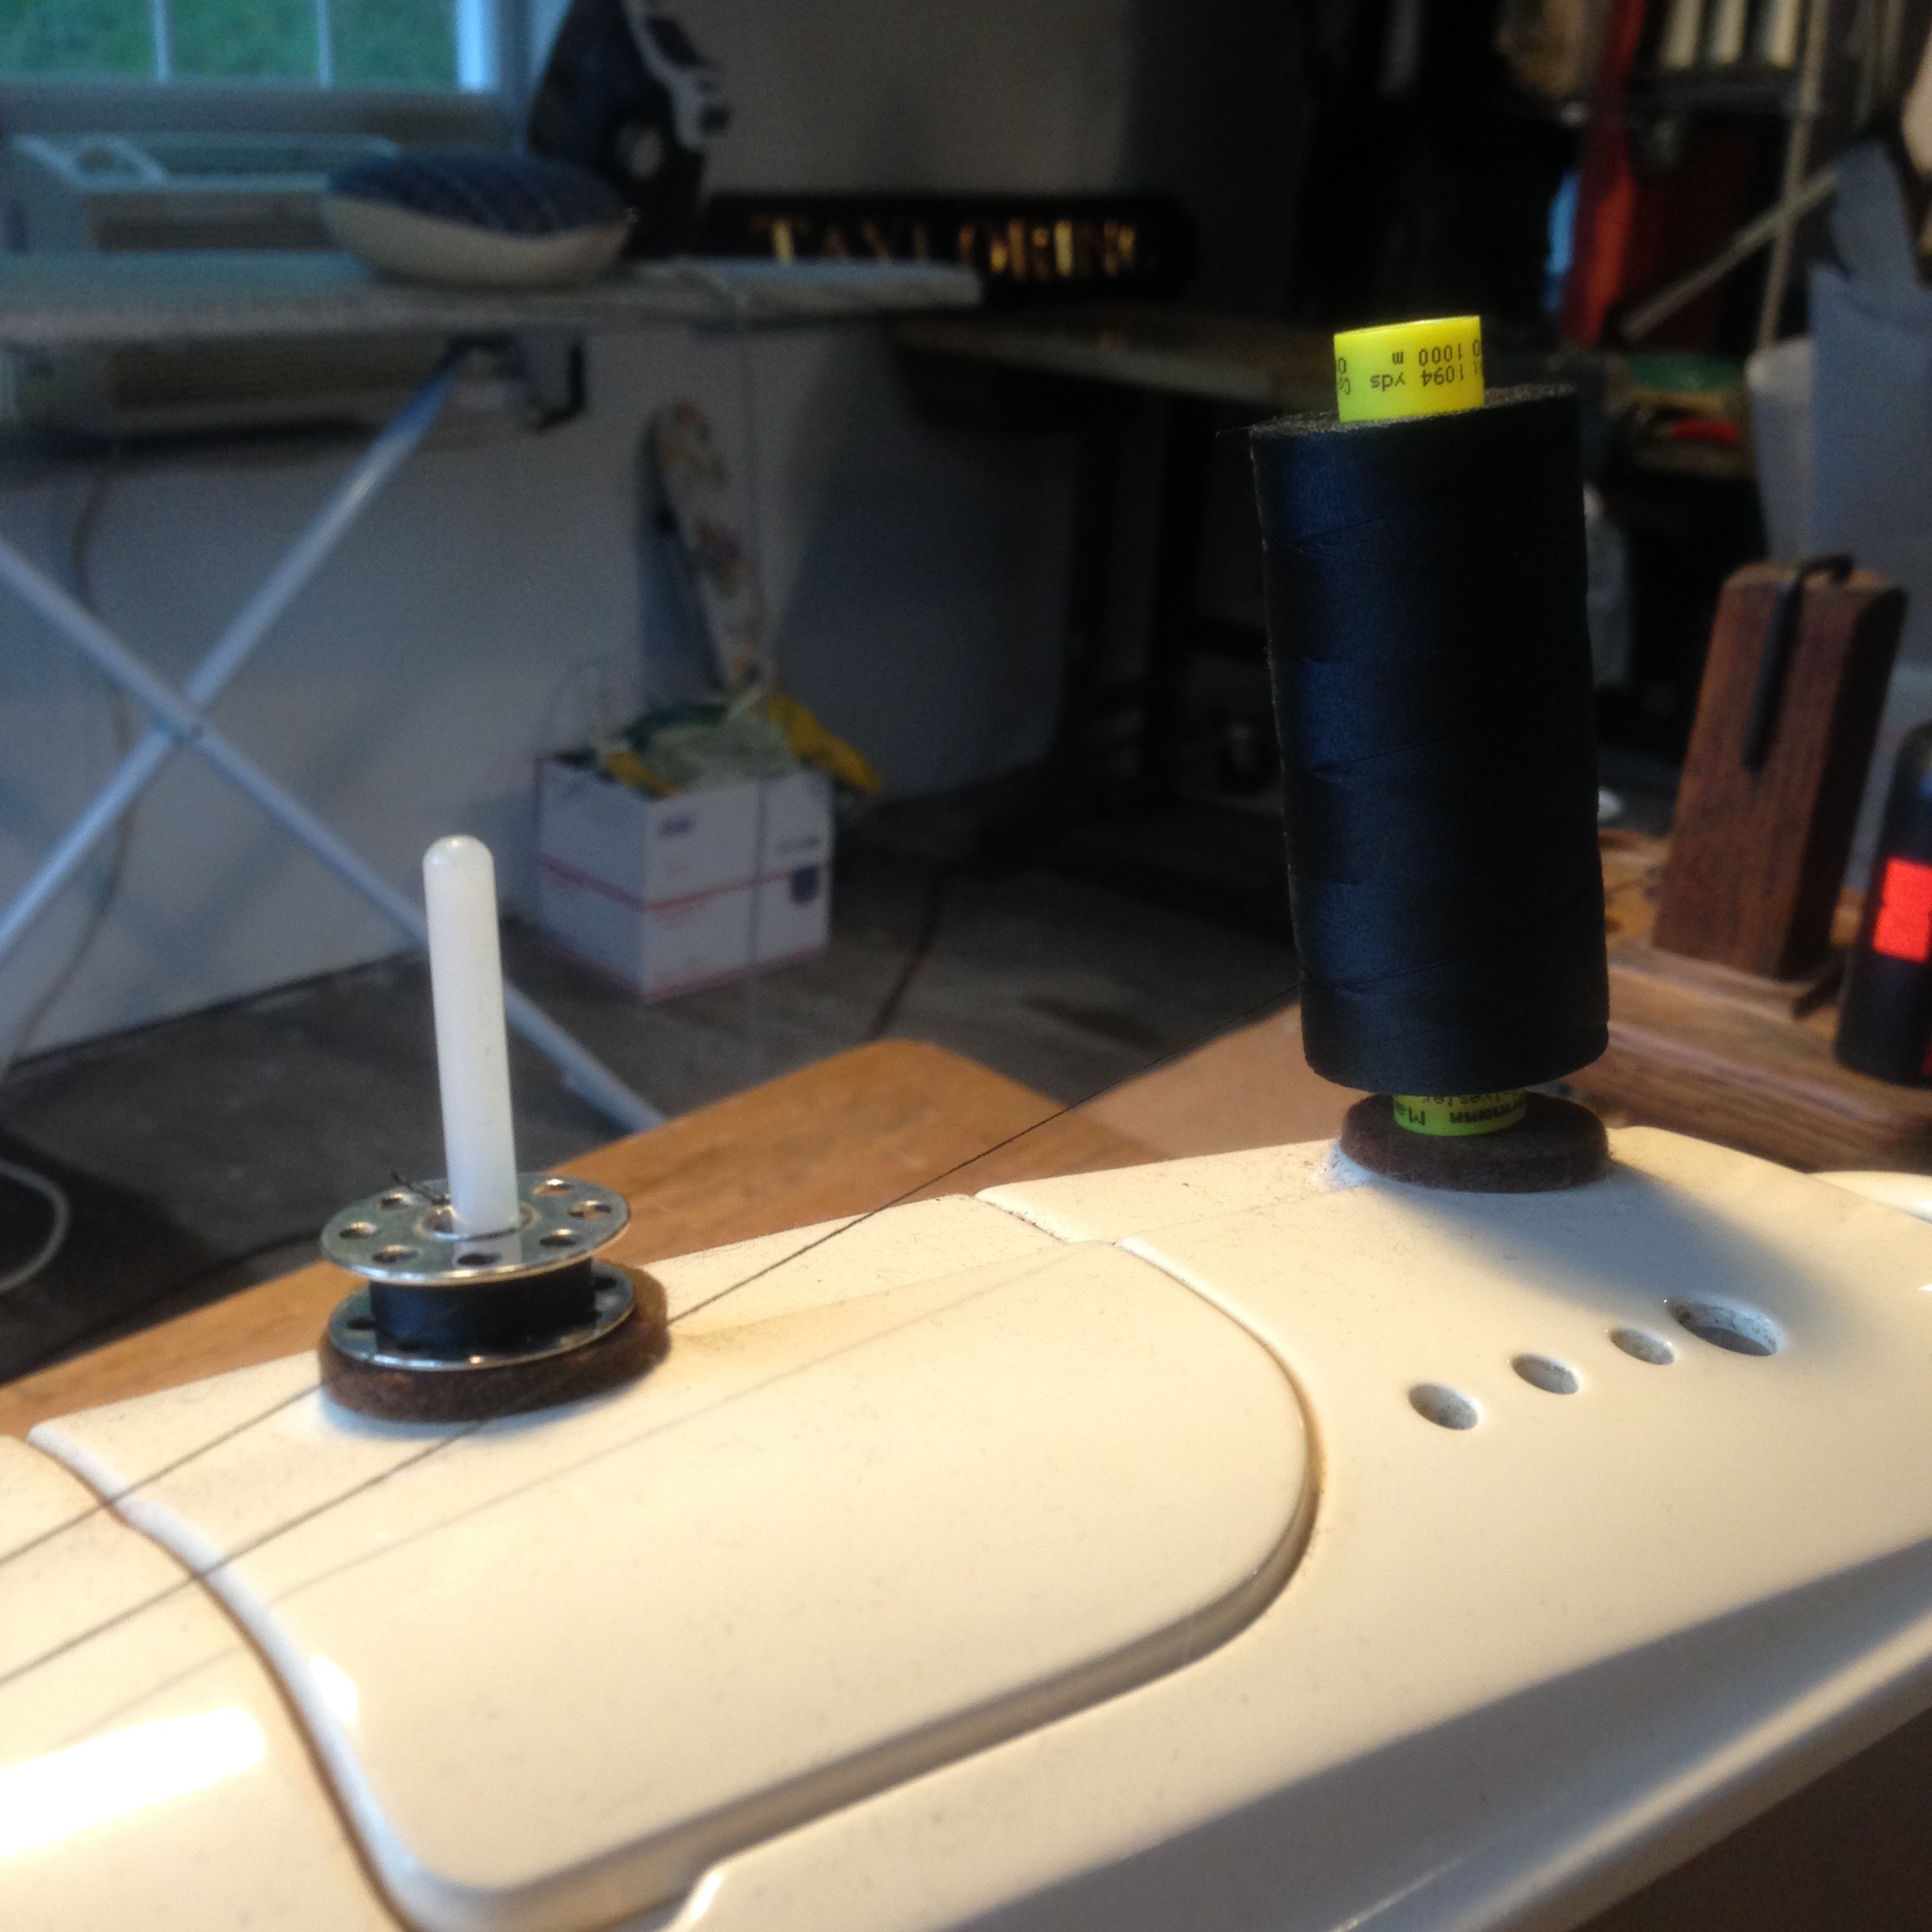
You'll need two spools of thread for topstitching and one bobbin. Most machines have a spot for two spools. If your machine has a horizontal spool pin, look for a peg in your attachments that fits into a spot on top of your machine. If your machine has a vertical spool pin, you probably have more than one.
If you only have one spool of thread in the color you need, simply wind a 2nd bobbin and use this as your second spool.
Grab both thread ends, being careful not to twist them. Thread them both through the machine at the same time. When you reach the bar at the needle, tread one thread through this bar, but leave the other loose. This helps keep the threads from causing each other problems.
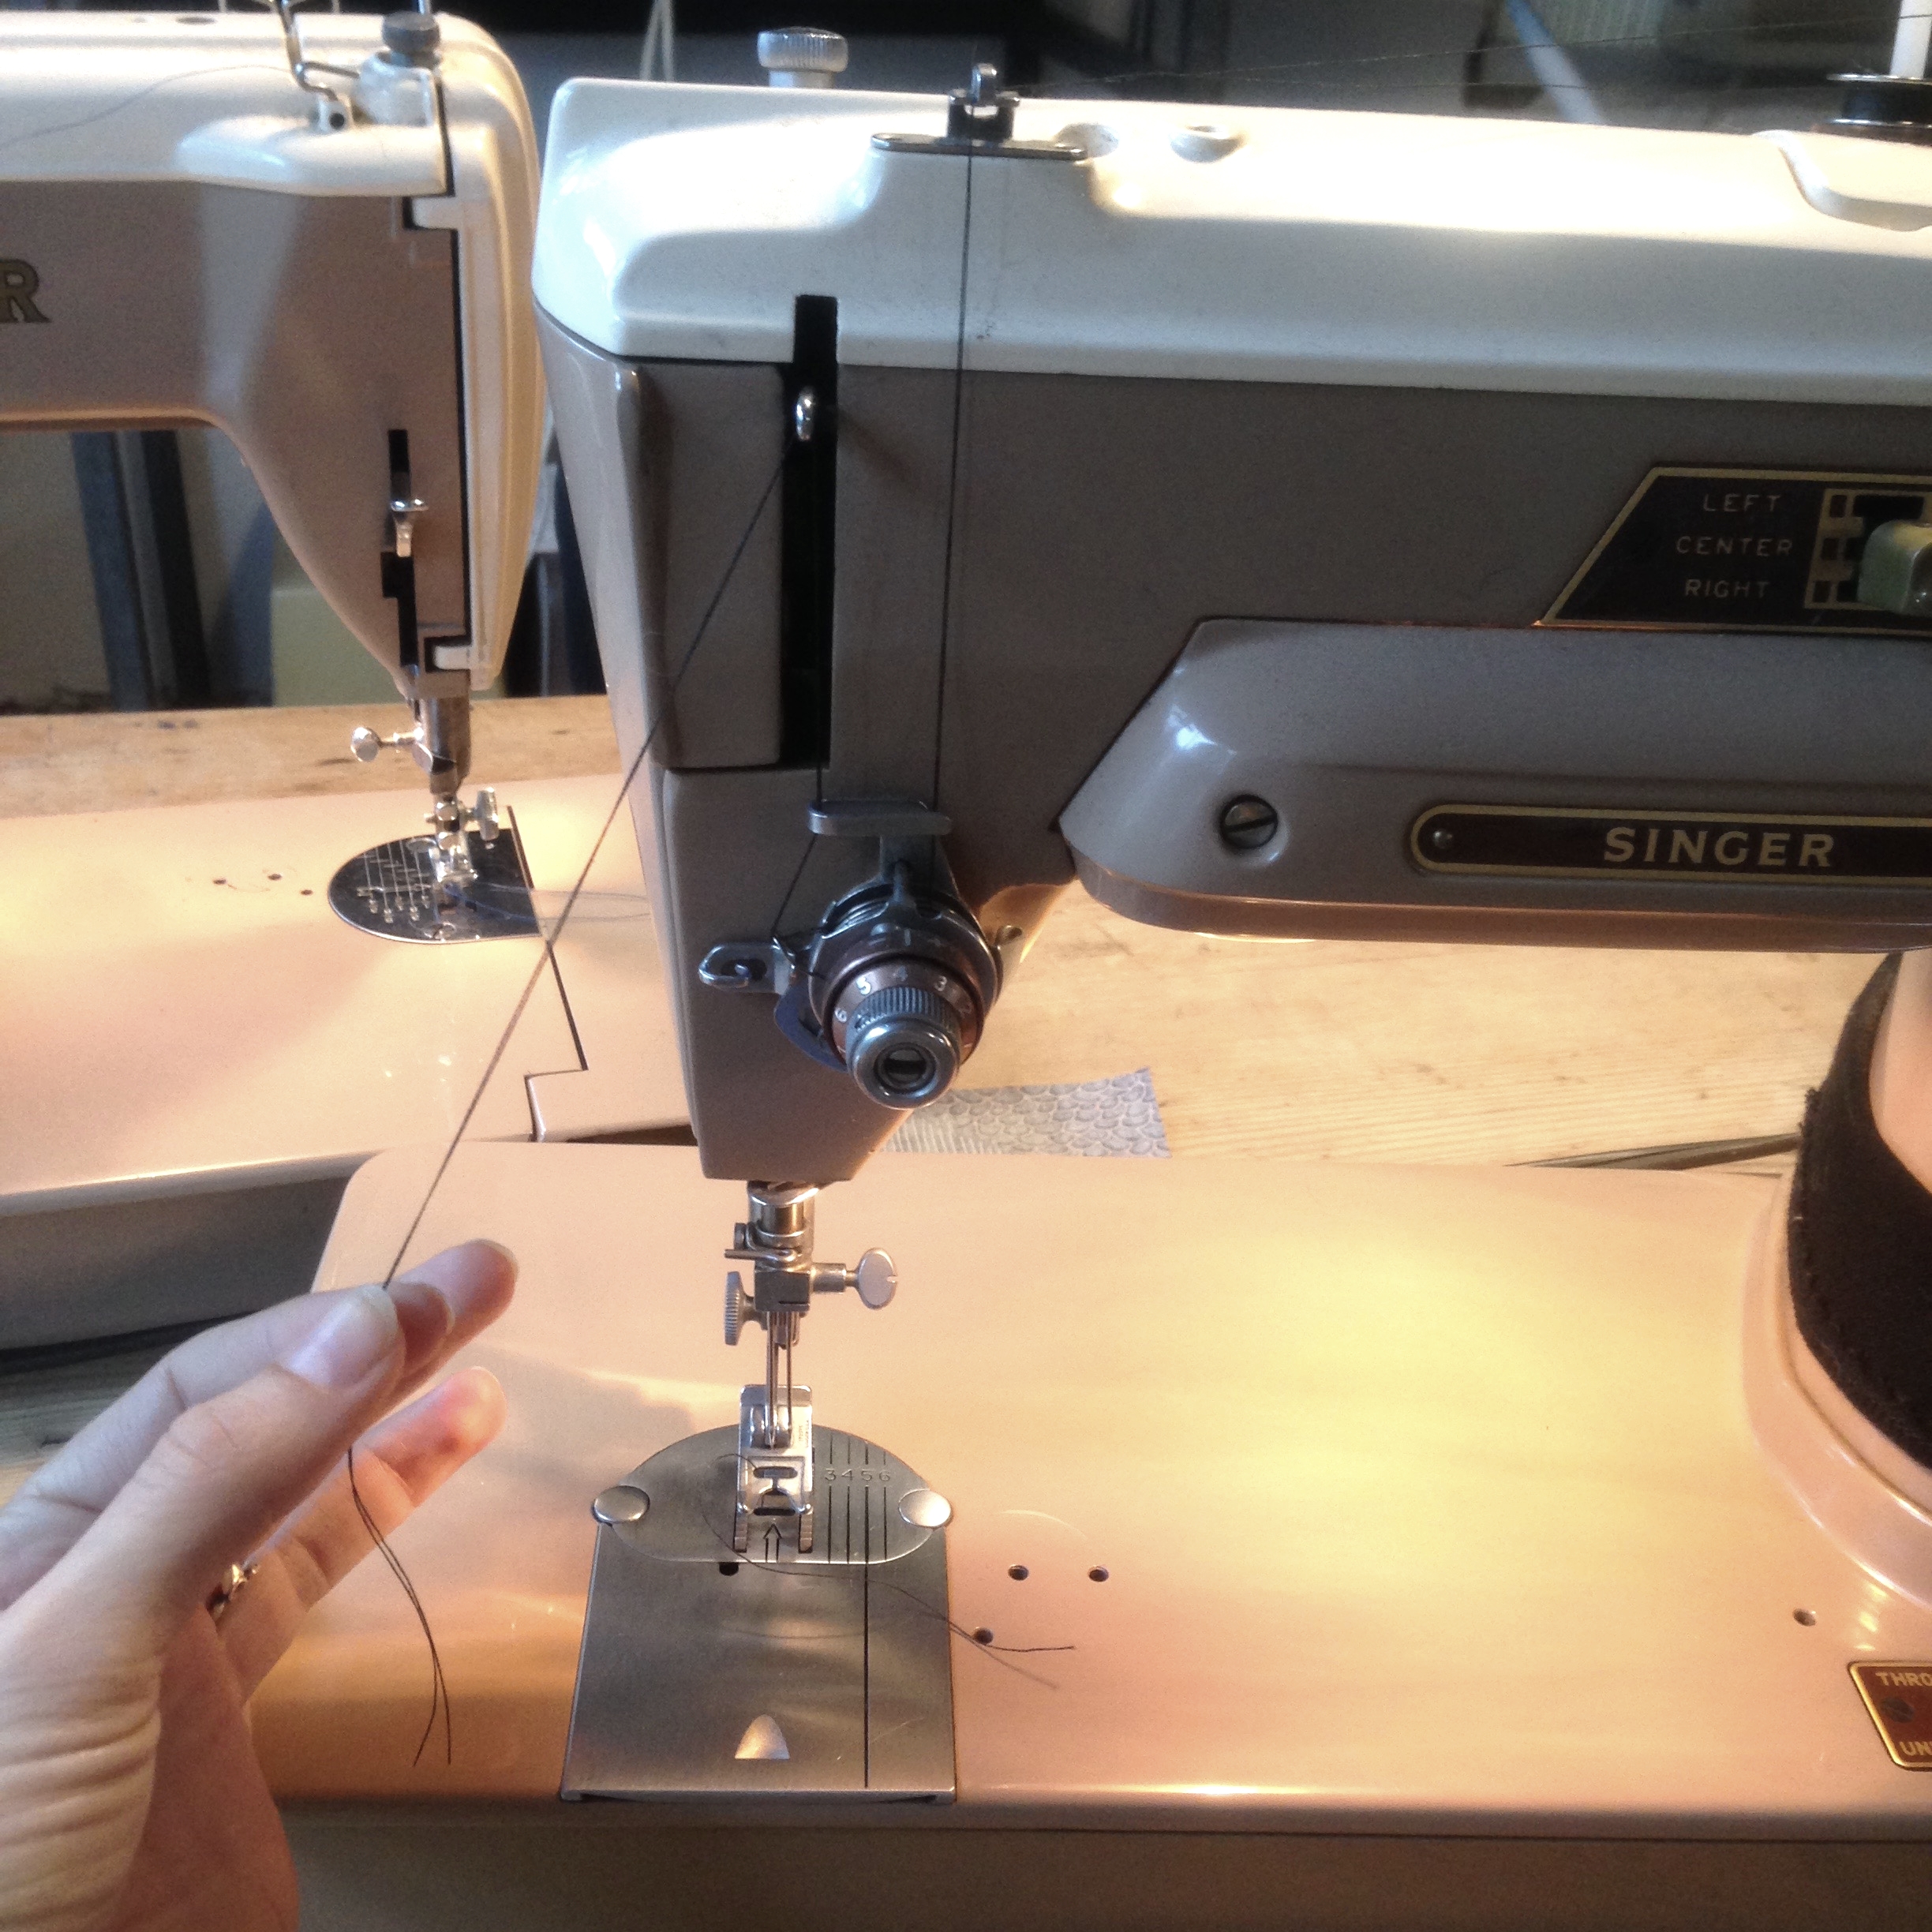
Twin needle stitching looks best when using a long stitch length (#4 on most machines) Test on a scrap and make sure your hem stretches and your tension looks alright. The back should look like a zigzag. If it looks straight with the top thread being pulled to the other side, tighten your sewing machine tension.
When sewing a hem with a twin needle, you'll want to fold up a hem that is 1/4" wider than where you'd like your stitching line to be. Or, you can make you stitching line 1/4" less than your total hem size. The saltbox shirt has a 1" hem allowance. Fold up 1" and press.

Sew on the right side 3/4" from the edge of the hem.


Once you've sewn your hem, you can trim the remaining hem allowance close to the stitching line.


Sewing A Knit Saltbox

Option 1: Neckband / Sleeveband
If you've ever sewn a knit neckband, the process here is essentially the same. You can substitute the instructions from a pattern you feel comfortable with.
Instead of cutting out the neck facing or using a bias binding, cut a neckband piece from the pattern at the bottom of this page. If you're making the sleeveless version, cut 2 sleeve band pieces.
Sew together the neckband along the short side and press this seam open. Fold over the neckband lengthwise (with the seam allowance inside) and press.


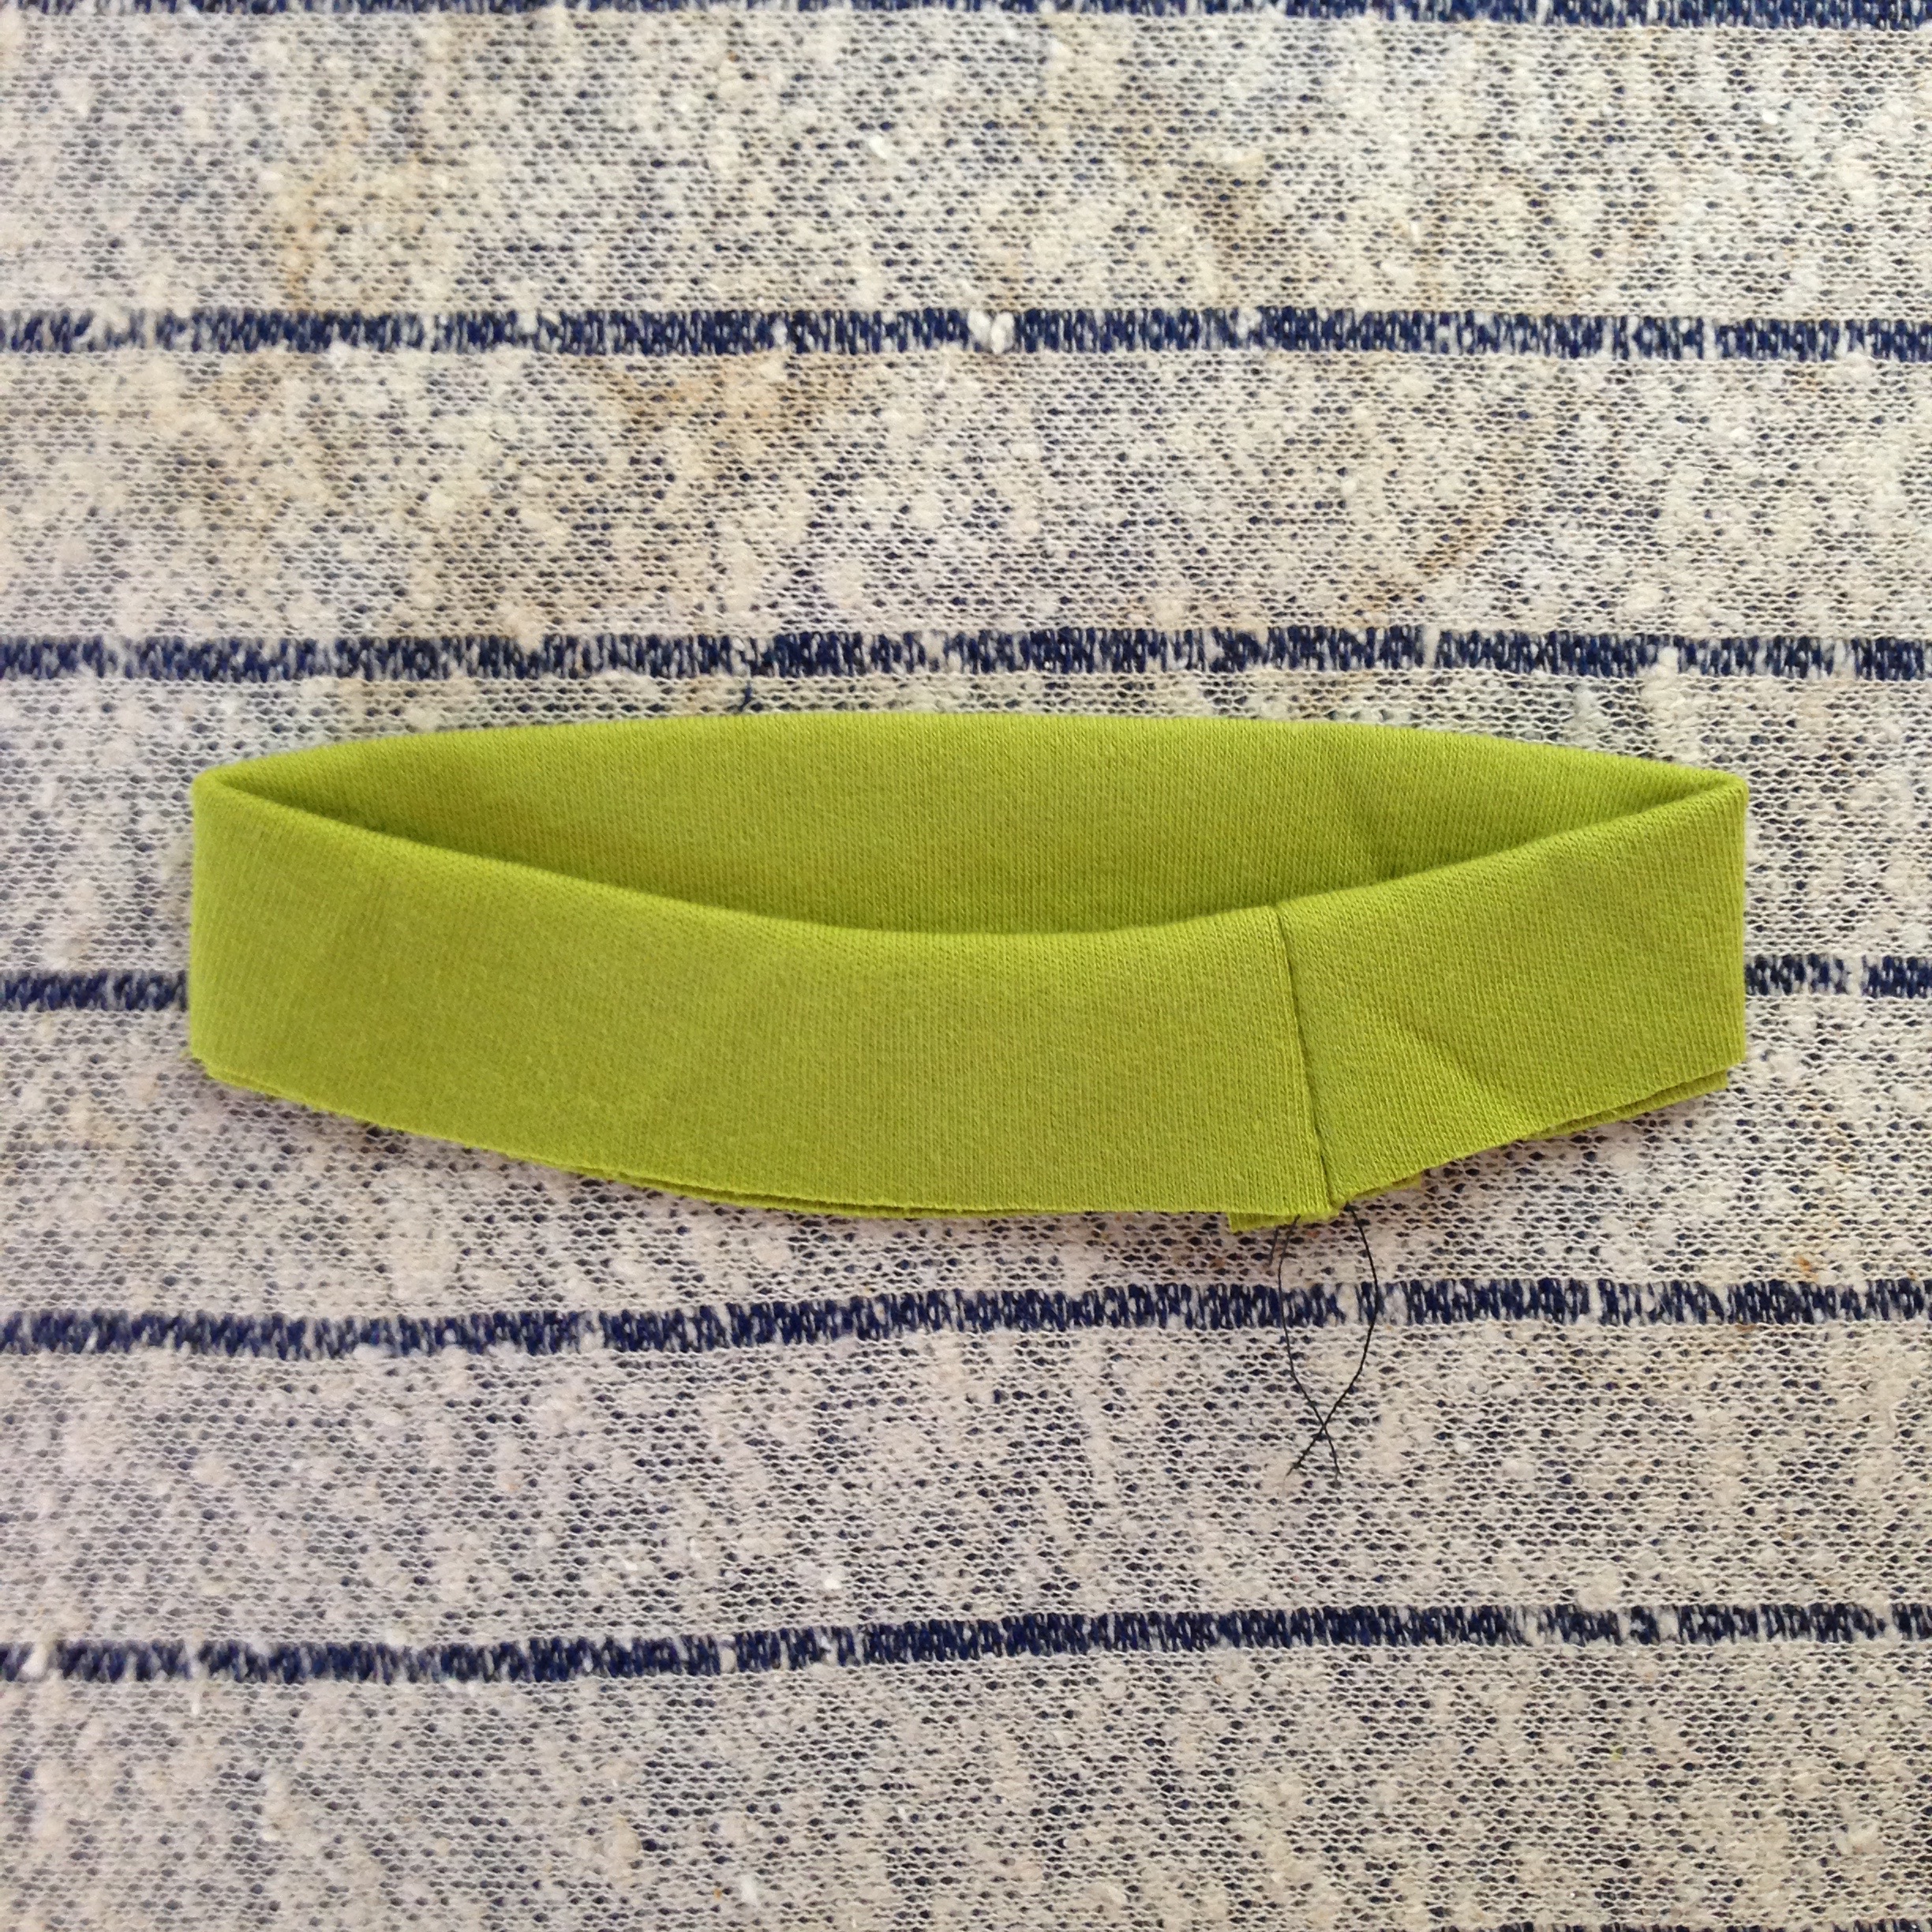
Mark the approximate center of the front and back of the neckline. Match up the three notches (and back seam of the neckband) with the center front & back markings and shoulder seams of the neckline. The neckband seam should be in the back. Your neckband will not fully extend around the whole neckline. It will look something like this:

Once you've pinned the neckline at these five spots, stretch the neckband so that it stretches out to the same size as the neckline. Pin around the neckline in between the 4 pins you placed and pin more if you wish, keeping an even amount of 'excess neckline' between each pin.
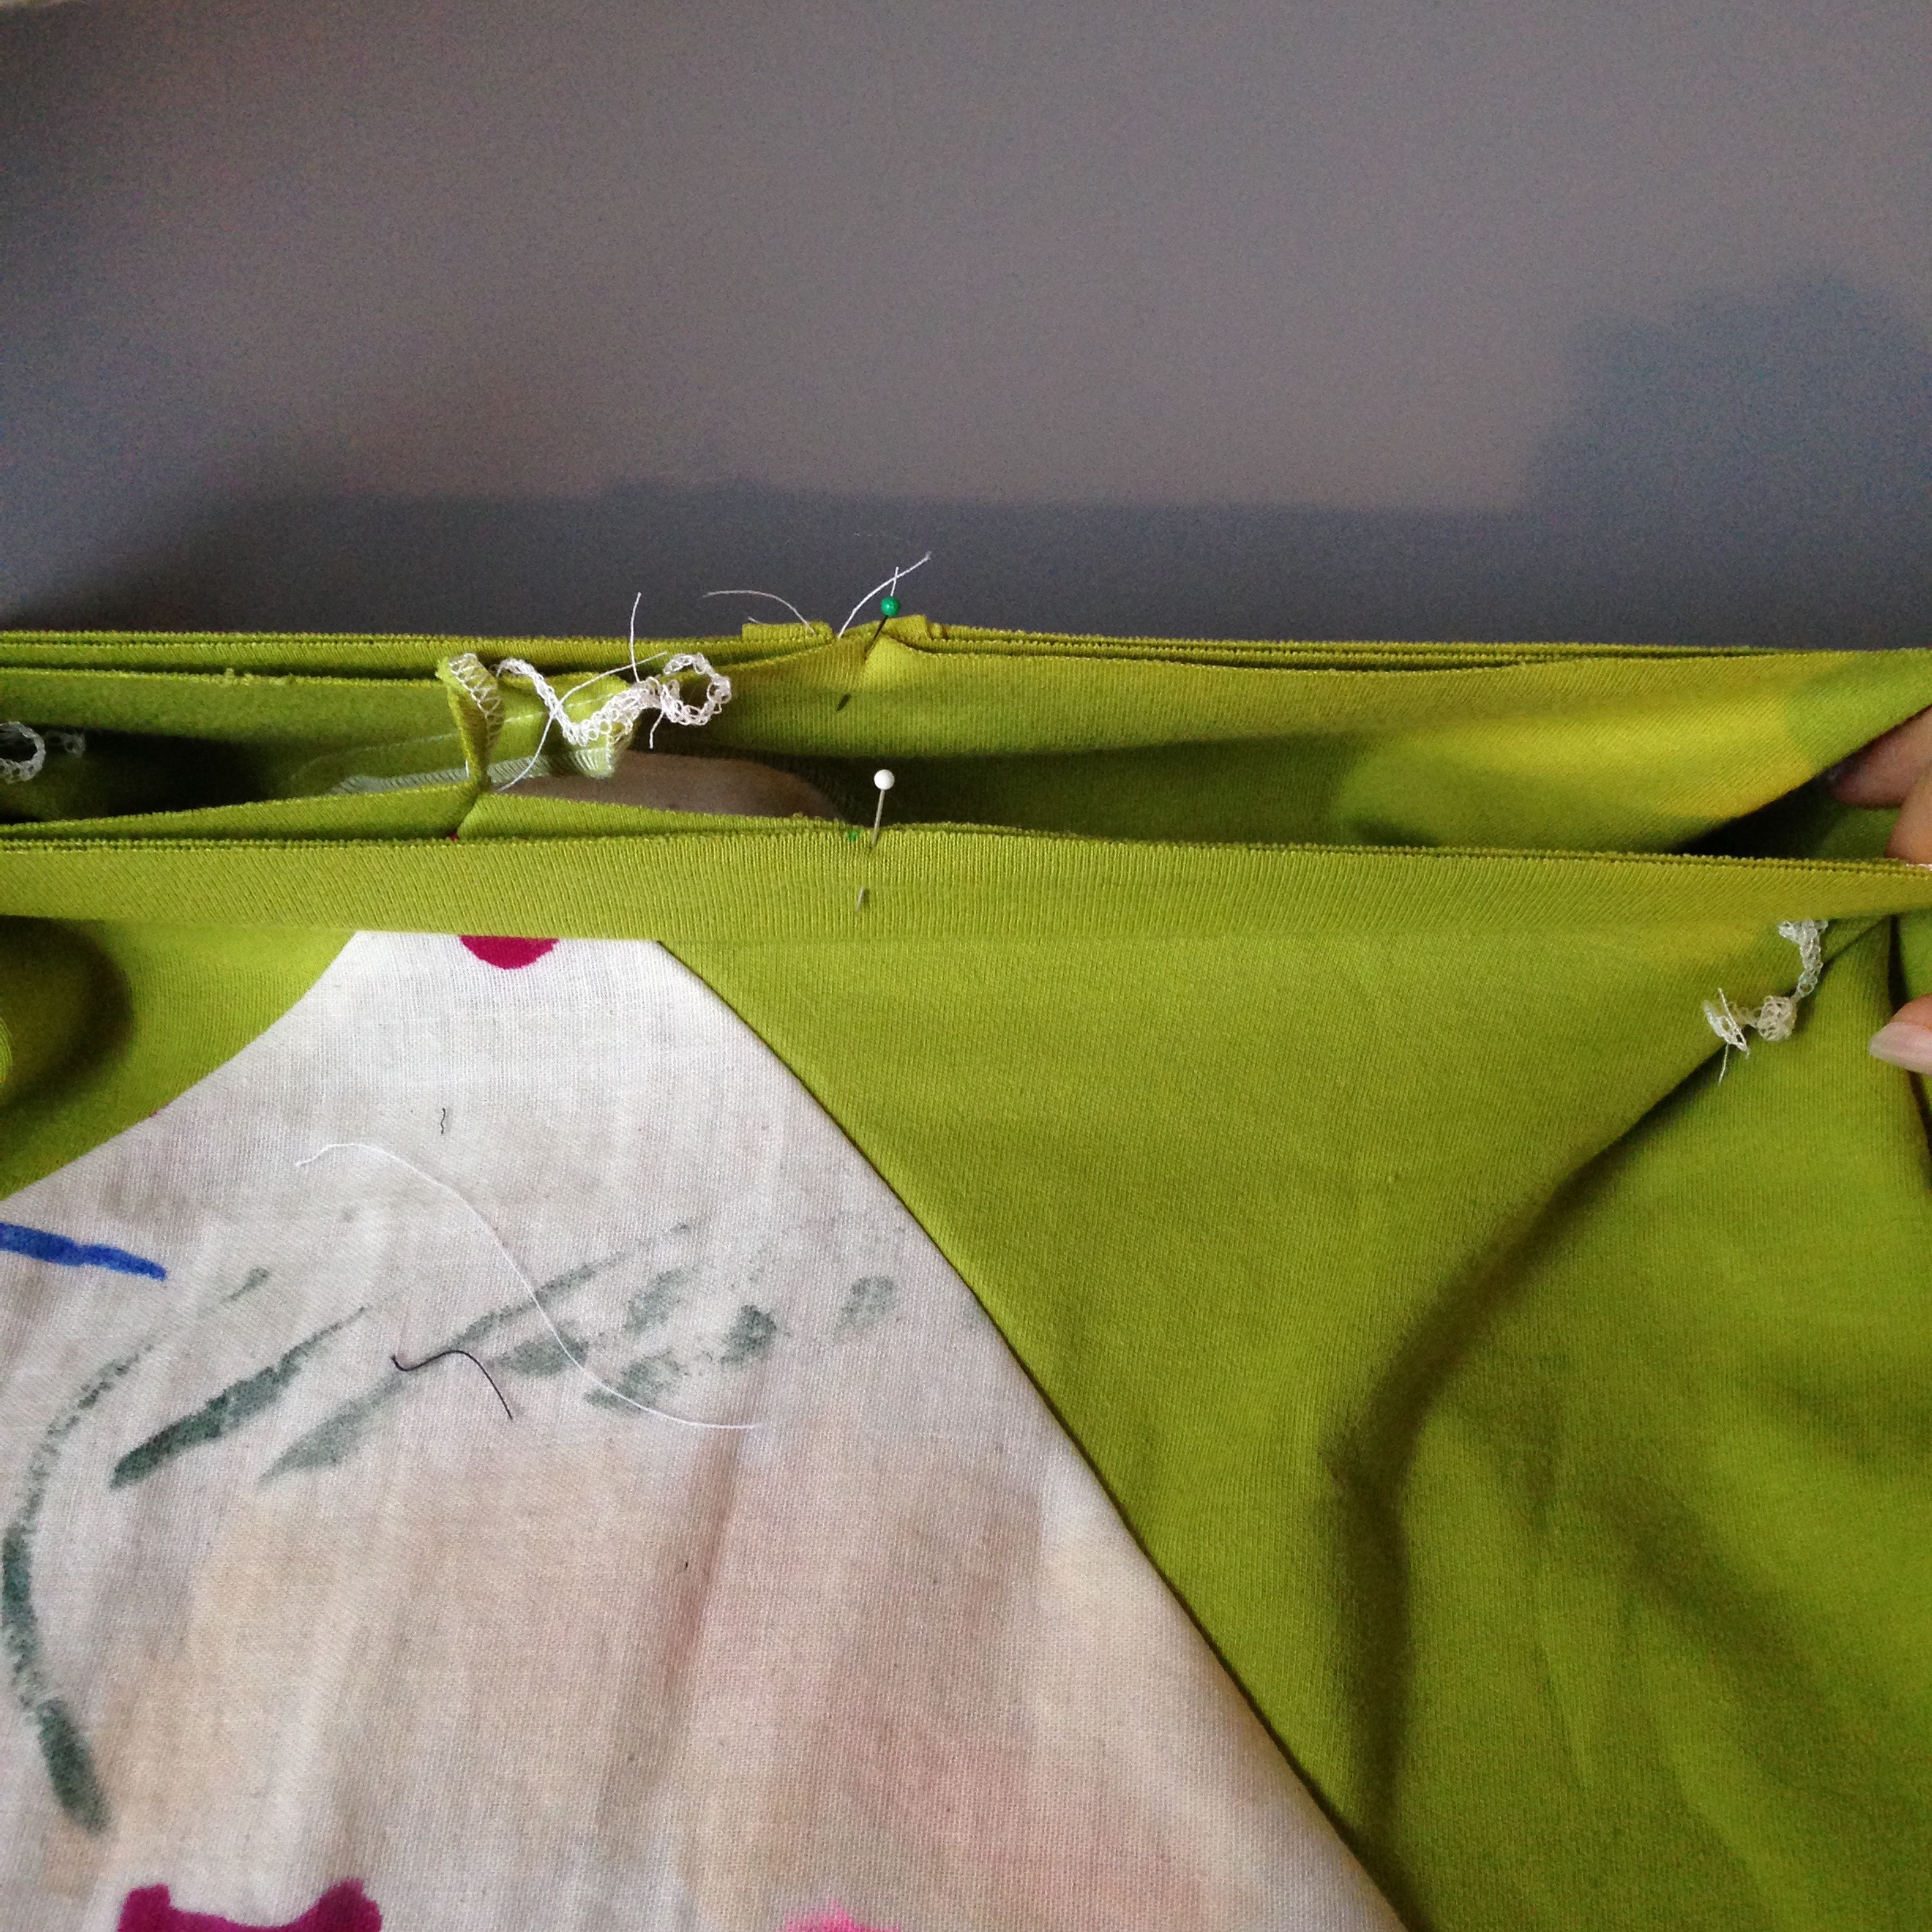
Sorry for the funny picture! Taking pictures with both my hands in them using my phone was quite a feat until I figured out a cool trick (which happened after I took this picture)
Sew around the neckband at 1/2" seam allowance, stretching the neckband to fit the neckline as you go. After sewing, press the seam allowance towards the body of the garment.
Using a zigzag stitch or your twin needle, sew around the neckline right below the neckband. You'll be sewing through the seam allowance which will keep it anchored to your shirt and keep it from sticking out at the neckline. Trim the seam allowance down to the edge of the twin needle or zigzag stitch.


Option 2: Twin needle finish
You can also finish your neckline and armhole on Saltbox very simply by folding over 1/2" (or 1/4" if you're making Version 2 ) and sew down using the twin needle.
On some knits, this can work great. On others, the neckline may stretch out and gape. Test first by cutting a scrap that has an inward curved edge, like a neckline, and fold and stitch this to try.
Finishing the Sleeves
For Version 1, simply hem the sleeves using a twin needle or a zigzag stitch.
For Version 2, stop when you reach the step for applying bias binding to the armhole. Sew up the side seams of the top. Sew your armhole band as you did for the neckline, then fold it in half lengthwise and press.
Match up the armhole band in the same way as for the neckline and pin in place. Sew around each armhole, press the seam allowance towards the shirt and finish with either a twin needle or zigzag stitch.
Some more tips:
- Try to choose knits that are a similar thickness to your main body woven fabric
- Feel free to use knit fabric for both parts of the top, though be aware that more slippery knits might be tricky to seam well on the diagonal seam.
- Most knit tops have minimal or negative ease. Since Saltbox has a lot of ease, consider going down a size for a more fitted top.

We got a cord of firewood yesterday and I like taking pictures with it! Looking forward to a super toasty winter ;)
