
Fabric Cutting Tips: Marking & Cutting
In our last tutorial, we covered how to properly align your fabric for laying out your pattern pieces on the grain.
Let's return to our three magical steps to better pattern cutting!
1. Alignment
2. Marking
3. Cutting
Now that our fabric is aligned, we can mark and cut our pieces.
There are two schools of thought when it comes to cutting fabric from a pattern.
Pin pattern to fabric, cut around pattern pieces, mark pieces.
OR
Place weights on or pin pattern, trace around pattern pieces and mark, remove pattern and cut tracing.
I tend to be a fan of the 2nd method because all the marking happens at once and you don't accidentally cut your pattern pieces. So this is the method I'll cover here.
First, let's talk about marking tools. Here's a brief rundown on your options
Marking tools
If you're new to the mark-then-cut method, you may not know which marking tool you prefer to use. This guide will help you decide:
Chalk
Chalk is the good old standby.
Pros: Fairly easy to mark, inexpensive, marks (usually) come out of fabric. Comes in different colors for different fabrics
Cons: Sometimes an iron can set chalk marks (do a test before using), marks can rub off easily before you need them, draws a thick line, hard to use on slippery or stretchy fabrics, can get 'dull' after a lot of marking (to fix, take a butter knife and sharpen up the edge), often breaks.
When to use: Great for projects using quilting cotton or other medium weight fabrics.
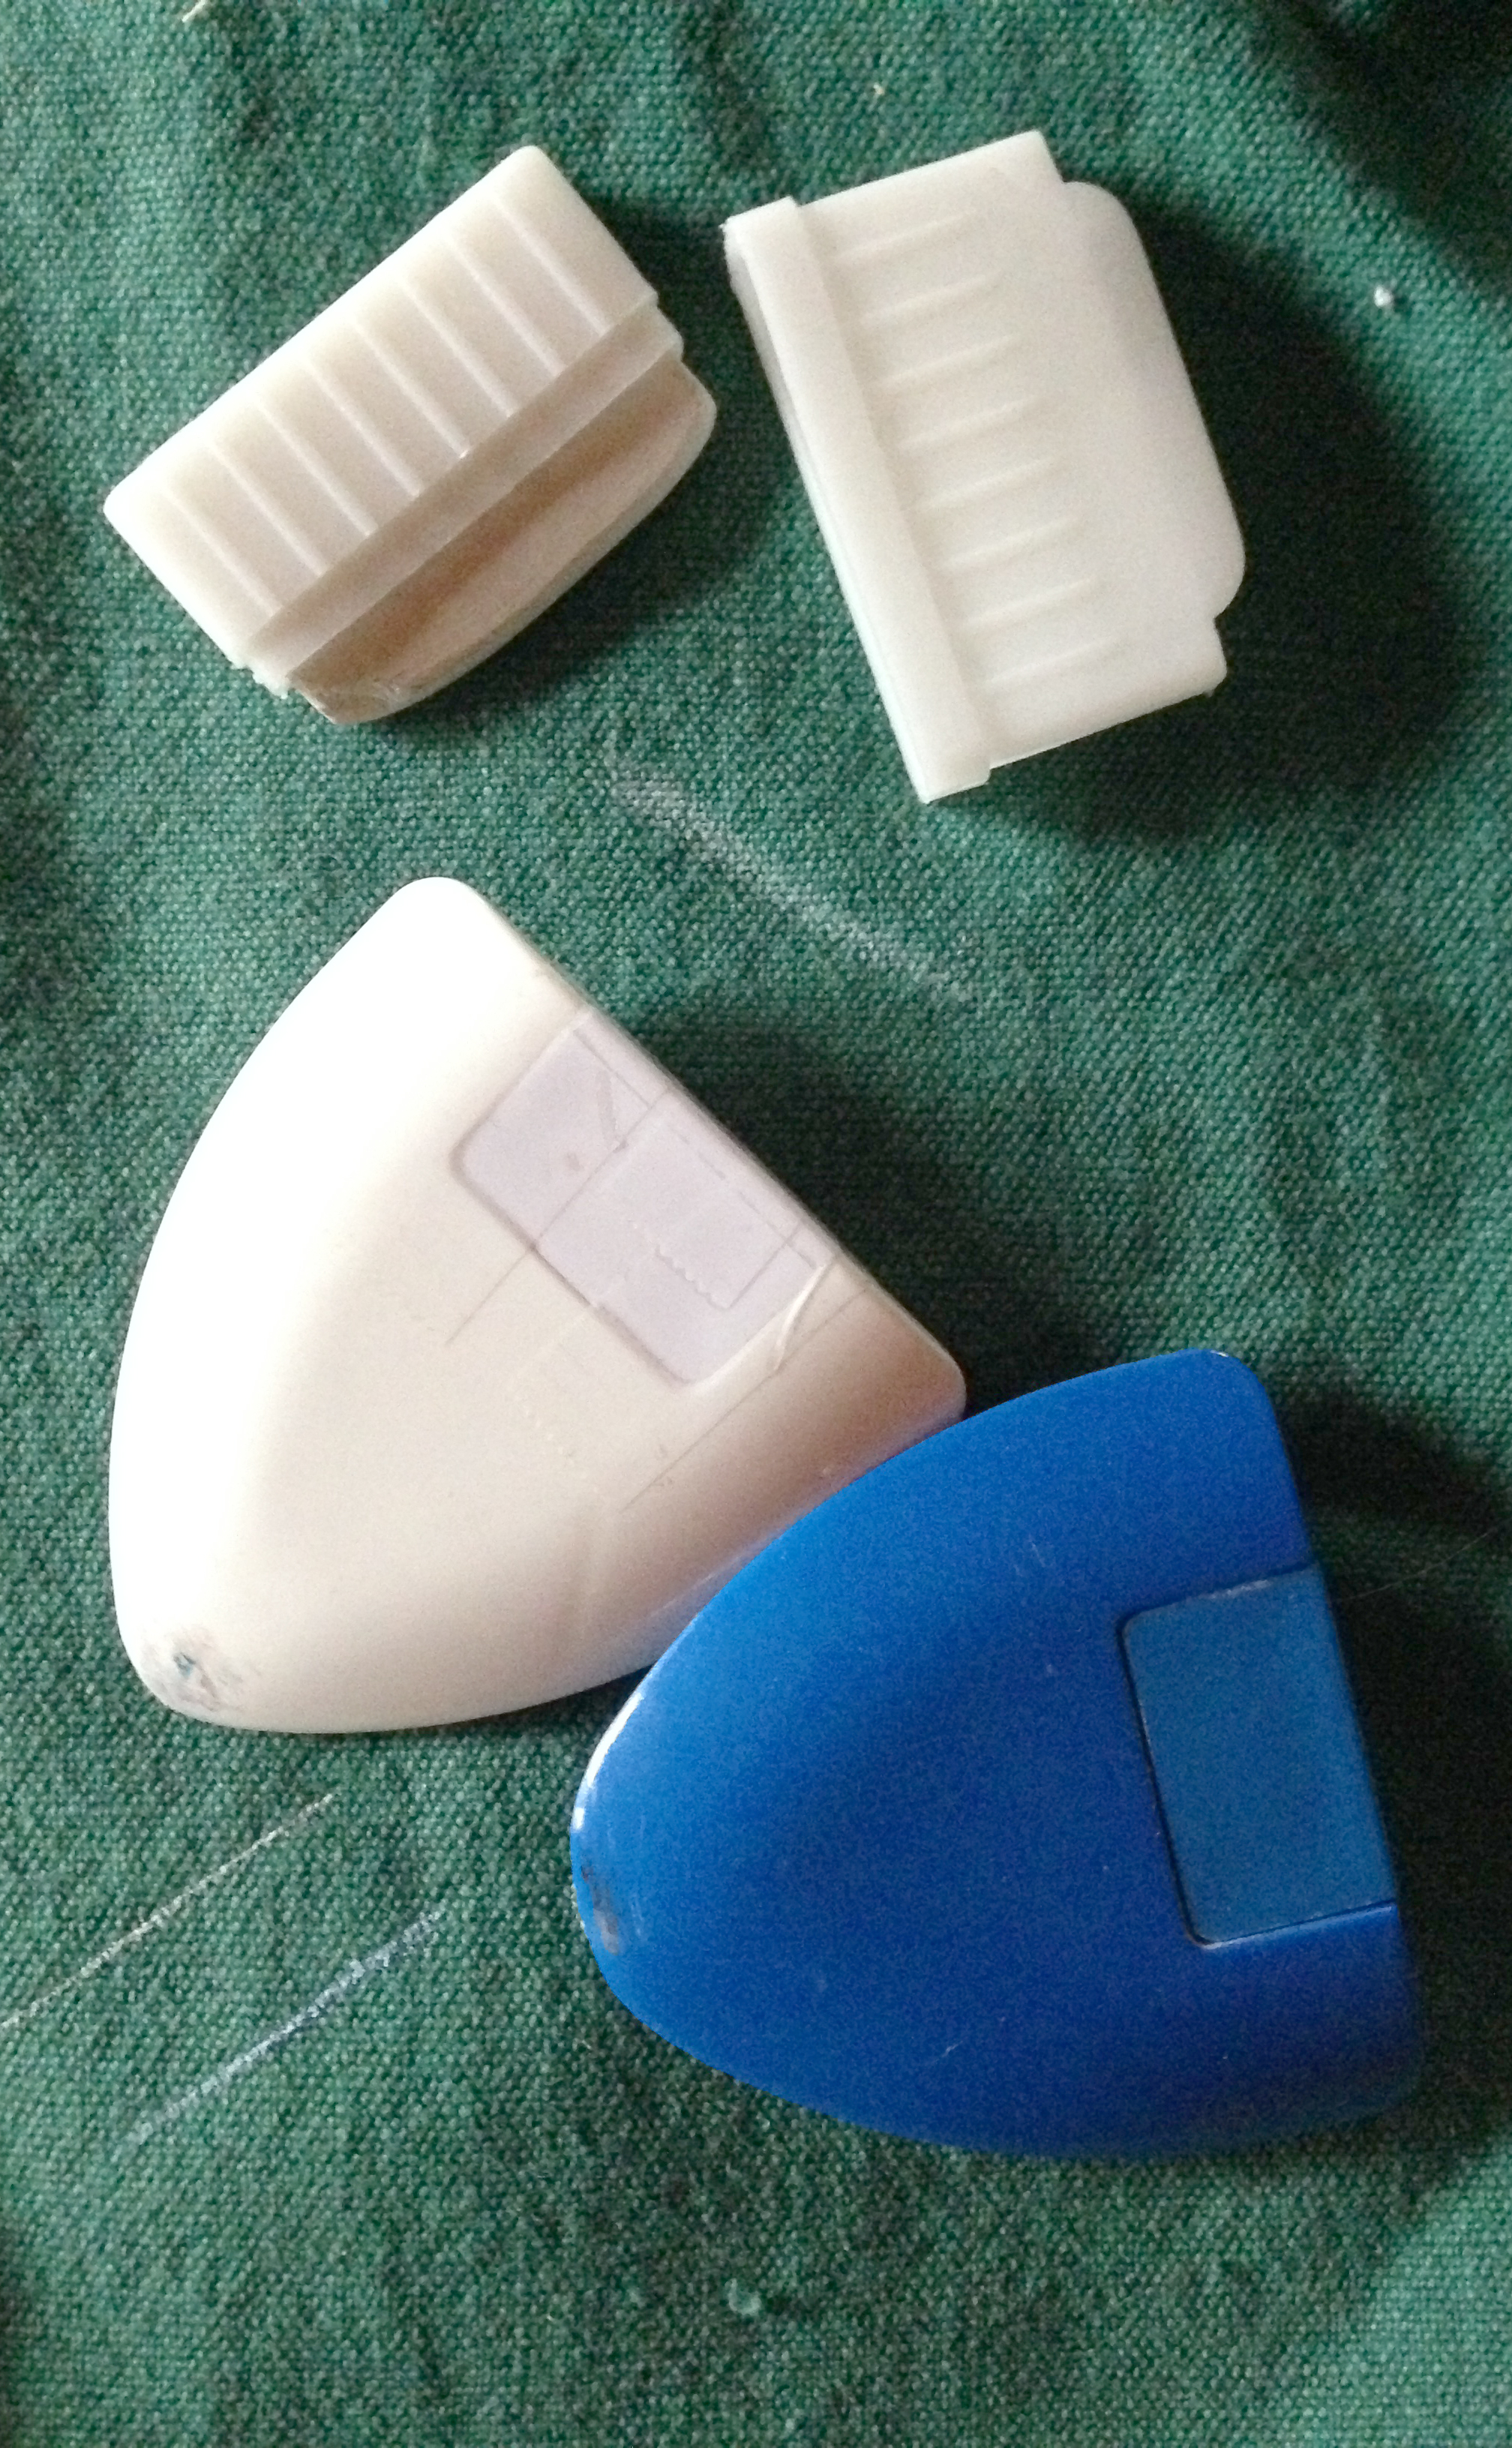
Chalk Wheel / Chaco Pen
This is my personal favorite. All the benefits of chalk, but in a roller that creates a thin, clear line.
Pros: Draws a fine line, rolls so it does not get resistance from fabric making it great for tricky fabrics, makes a pleasant 'clicky' sound, doesn't break like regular chalk.
Cons: Like regular chalk can rub off easily, periodically needs to be re-filled, can be hard to find.
When to use: When marking tricky fabrics like jersey or silk, for markings you intend to sew right away.
Erasable Ink Pen
Be sure to buy the kind for fabric, not paper. Clover and Dritz make them. Goes on blue or purple and erases with water.
Pros: Much longer lasting than chalk, felt tip pen makes marking easier, often easier to see than chalk.
Cons: Sometimes marks don't come out all the way (always test first on a scrap), draws a thicker line than chalk makers.
When to use: When you need a clear, long lasting mark.
Disappearing Ink Pen
A pen with exactly that, ink that disappears after a period of time.
Pros: Clear markings, easier to use, no need to remove as they will fade on their own.
Cons: Fades away - not ideal for marking a project that won't get finished immediately, may not fade completely (always test first on a scrap).
When to use: For quick marks as you sew, when chalk is not ideal.
Thread Marking / Tailor's Tacks
Very old school.
Pros: great for marking on fabric where other methods aren't ideal or are impossible (fine fabrics, sequined or embroidered fabric, lace), leaves little to no residue on fabric, not affected by the iron.
Cons: Time consuming! On very fine fabrics thread can leave holes, tacks sometimes come out or can be pulled out accidentally, thread in sewn areas can get stuck in stitching and need to be picked out.
When to use: Specialty fabrics, marking things like grainline or pocket placement in the middle of garment where other methods leave marks.
Try these tools and see which you like best.


Marking your fabric:
1. Lay out your pieces along the grain (see our alignment tutorial for help with this)
2. Secure your pattern, either with weights, random objects around your studio, or pins. I prefer weights as they do not ripple the pattern paper like pins do.

Here I'm using simple pattern weights made out of stacks of pennies and foreign coins wrapped in muslin. Large washers and paperweights also work well.
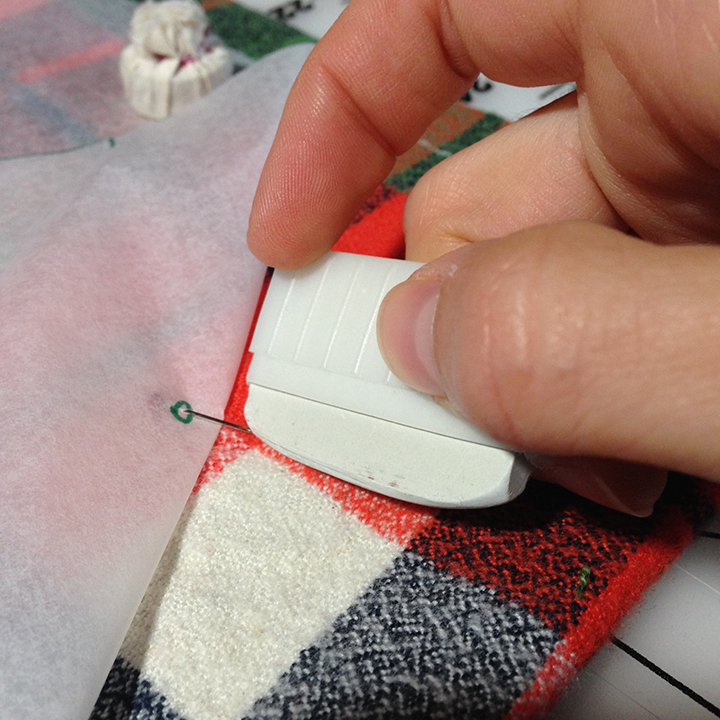
3. Using your fabric fabric marking tool (see below), trace around your pieces.
4. Mark all notches, either with a simple line in the notch, tracing the inward triangle of the notch itself, or drawing an outward facing triangle that mirrors the notch (best for seam finishes where you need your seam allowance un-cut, like the flat felled seams used in Cabin)

Here I've marked the notch in 3 ways, typically you only mark where the notch is.
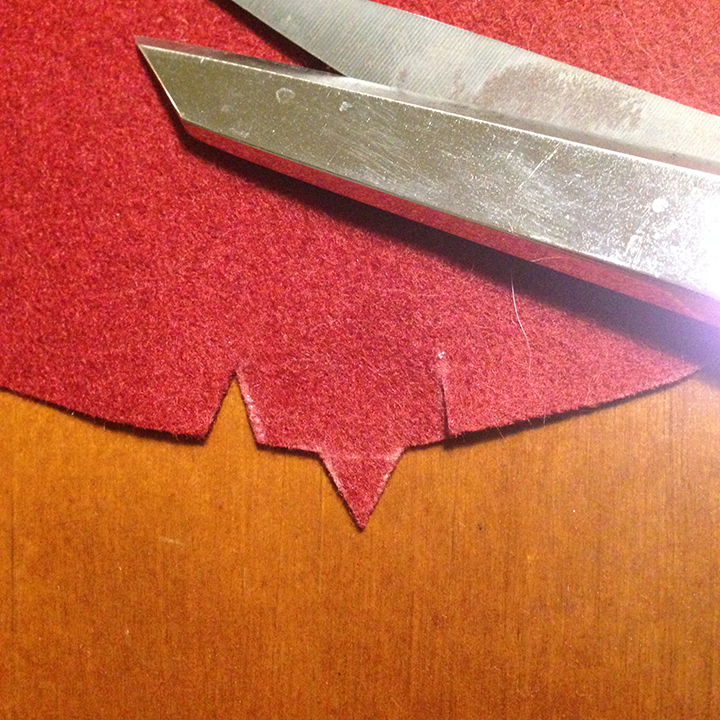
L-R: Inward facing (like the pattern), outward facing, or just a snip. When snipping, be careful not to cut too close to the seamline.
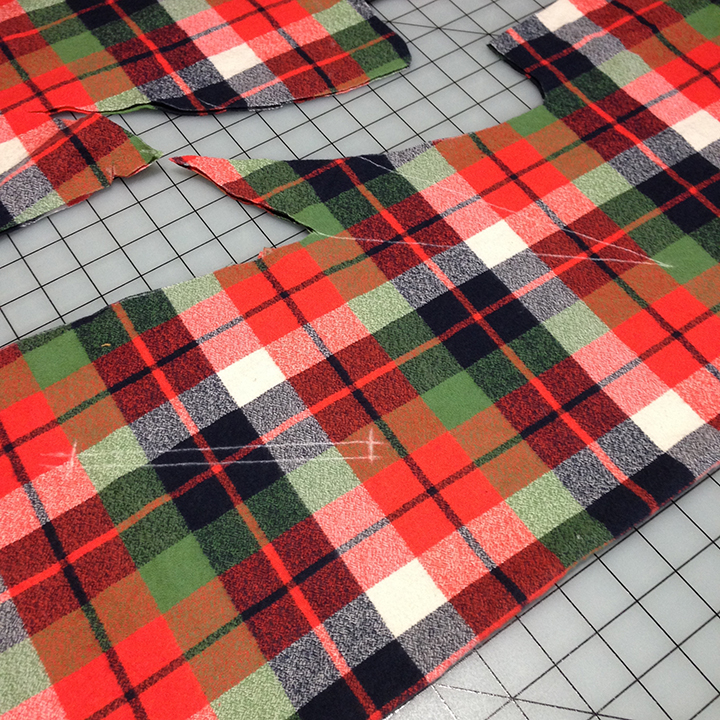
5. Mark darts and other details on the inside of the garment by placing pins through the pattern at key points, then pulling away pattern paper to mark next to the pin. Remember to mark where the pin goes through on the opposite side of the fabric.
Lift up your paper pattern and rub chalk at the point where the pin enters the fabric. The pin should help you make a nice crisp mark.

Flip the piece over and mark where the same pin exits the fabric.
Now you are ready to cut your fabric!
Cutting:
You can use either scissors or a rotary cutter to cut out your pieces. Both have their pros and cons.
Scissors
The most common scissors used for cutting fabric are dressmakers shears, which have a bent handle. This makes it easier to keep the fabric laying flat while you cut. Use your scissors only for fabric to keep them nice and sharp.
Pros: Usually easier to control your cuts, better for cutting curves or small details, doesn't require a cutting mat.
Cons: Cuts are not always even, especially for new sewists, less control when cutting slippery or knit fabrics, can hurt your hand when cutting large quantities of fabric.
When to use: For general cutting, especially pattern pieces with curves.
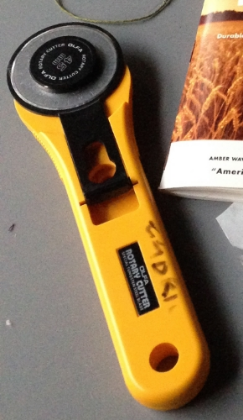
Rotary Cutter
Rotary cutters are like pizza cutters for fabric, with a rolling blade.
Pros: Great for cutting long straight lines, helpfuls when cutting sliper fabrics as the fabric stays put while cutting, can be more precise than scissors.
Cons: Must use a cutting mat underneath so as not to damage your table, straight cuts require the use of a ruler, not good for cutting curves, inward corners, or other details, blades dull more quickly.
When to use: Rotary cutters are great for quilting, cutting bias strips, or anything with many long, straight cuts. Though the 'start up' cost (for cutter, mat, and rulers) is more, it is a good investment if you do that kind of work.

You can use both of these tools in combination, using each one for a specific part of your cutting.

Rather than cutting outside the tracing line, cut away the tracing line. Between the tracing line sitting on the outside of the pattern, then cutting outside of the tracing line, your pattern could grow by a 1/4" all around!
Pattern piece cut out with all notches, darts, and other markings drawn in.
For mirror image pieces, like the right & left side of a shirt, I like to draw a faint letter L and R on each piece in chalk on the fabric's wrong side. This can help avoid unintentional sewing mishaps.
By taking care to align and cut your pieces accurately, you'll avoid headaches and mistakes later on in your sewing. Have questions about cutting & marking? Leave them in the comments below!